Creating a client
Add a client before you issue them quotes or invoices. The form captures the client's company-level information, at least one contact person, and any number of billing or shipping addresses — all on a single page.
Open the create form
From the sidebar, click Clients → Add Client, or go to /clients/add directly.
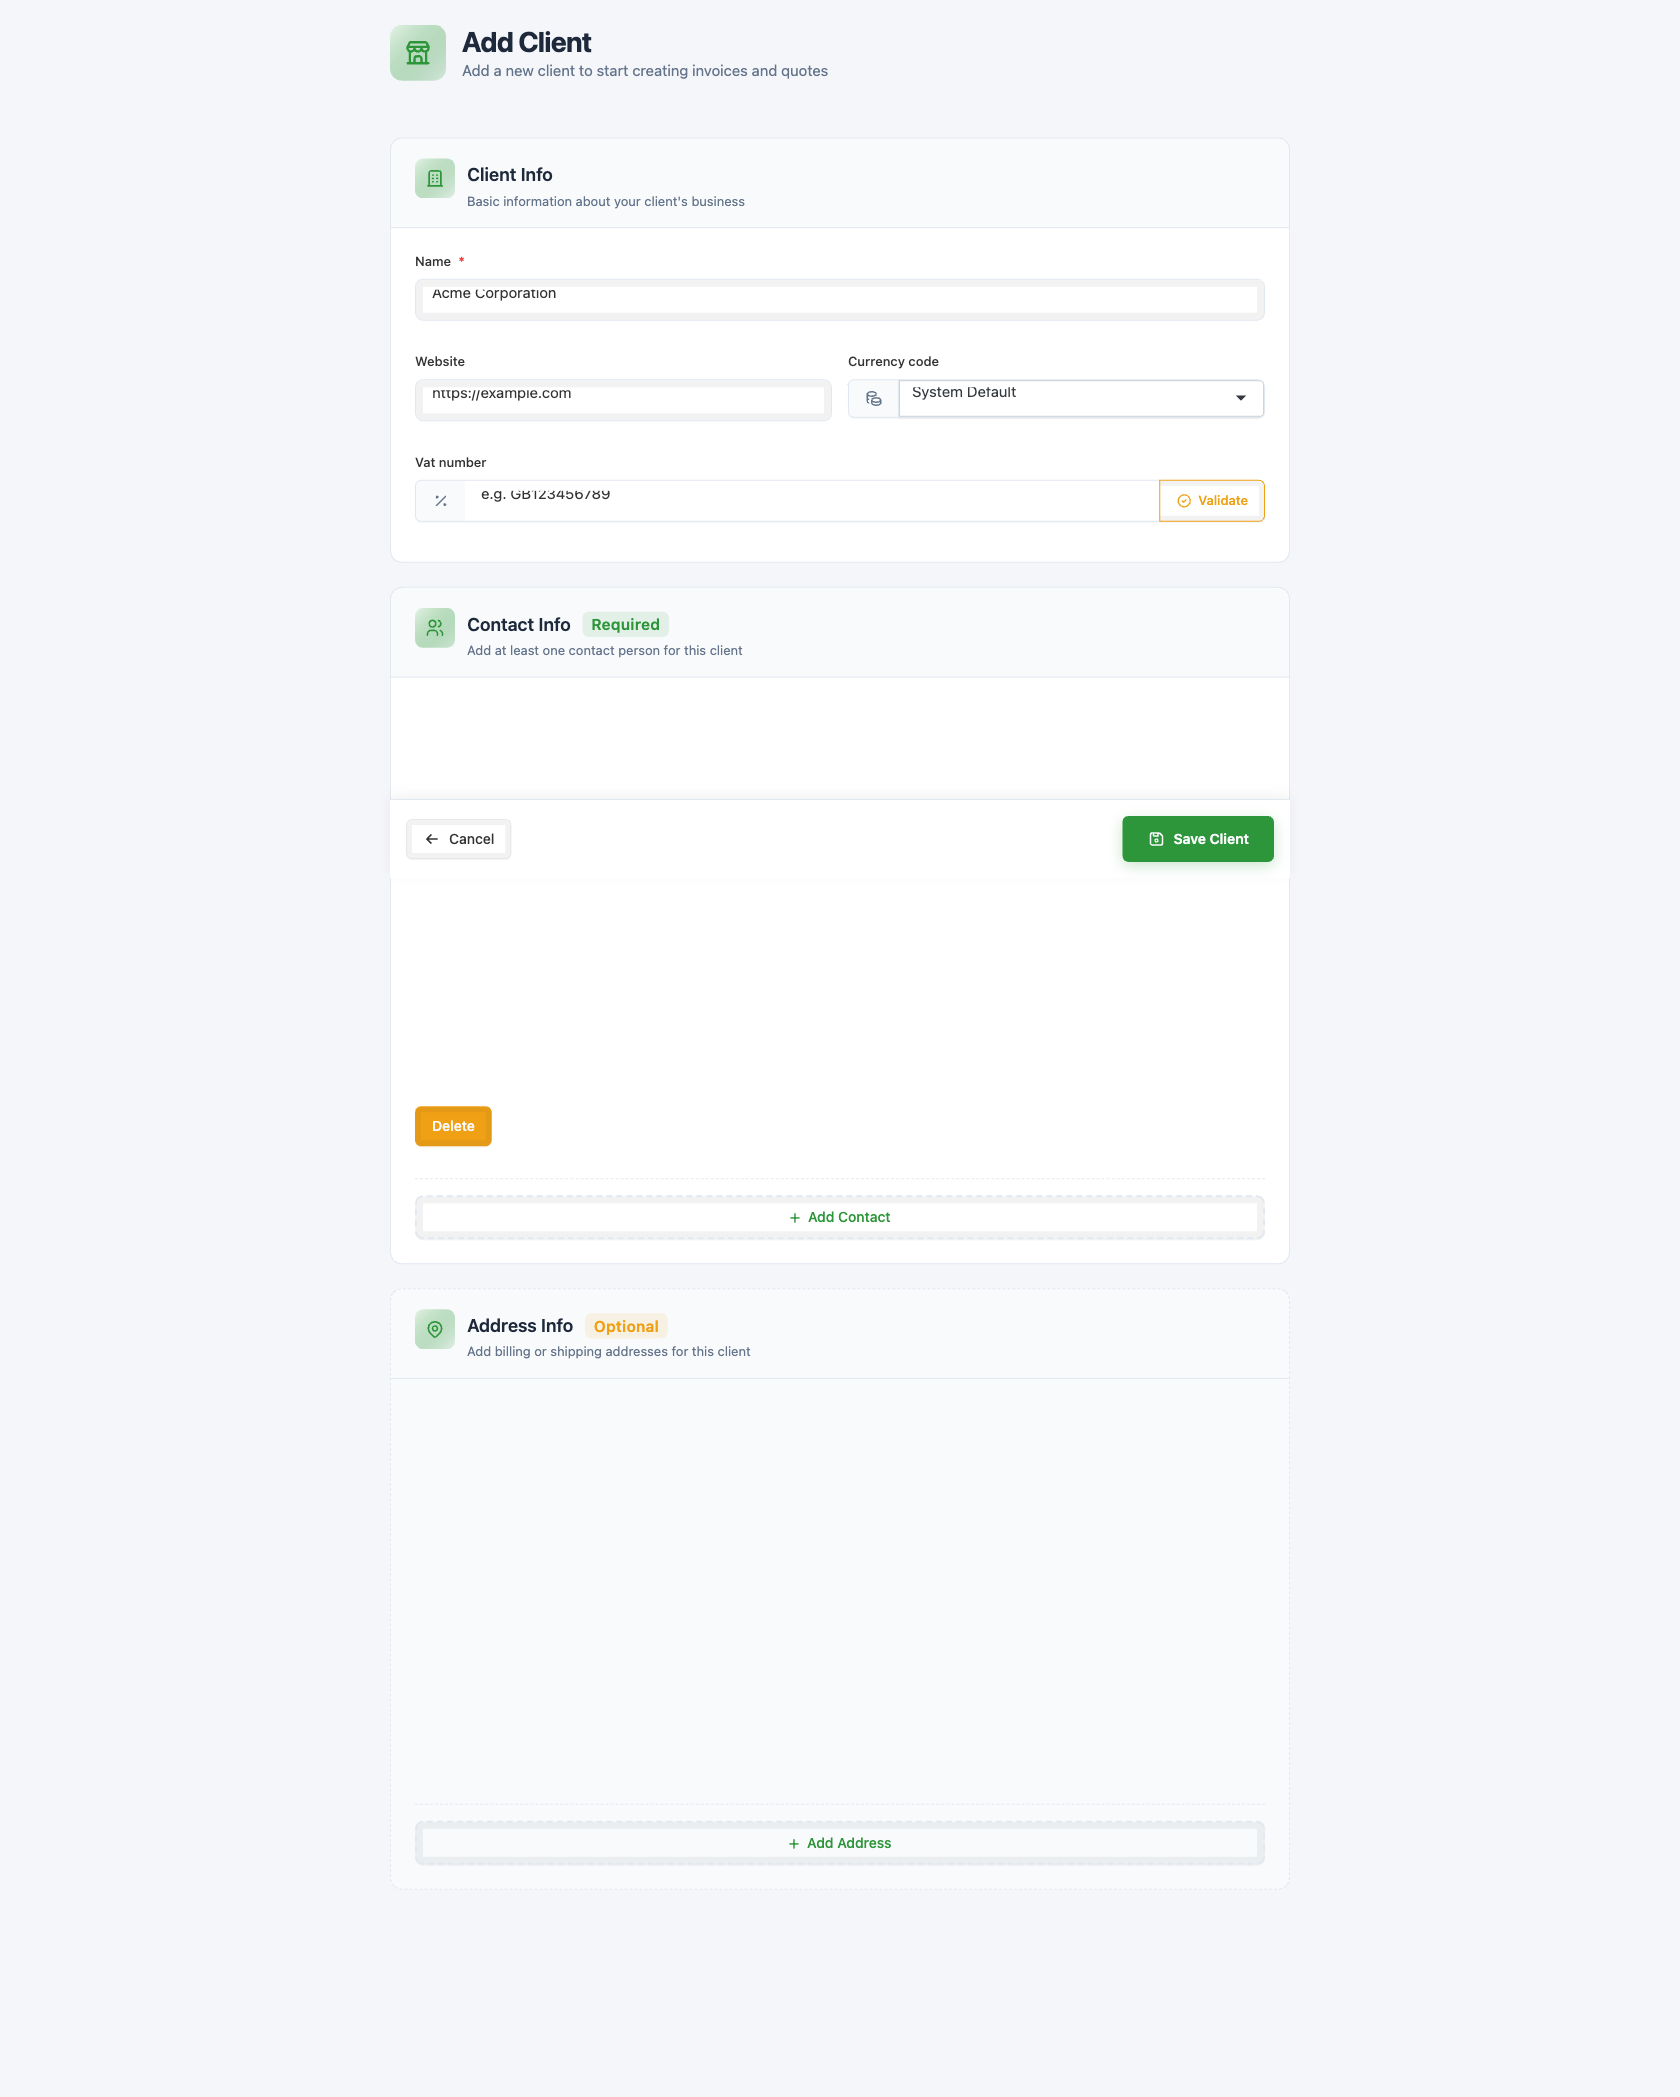
Client Info
The top card captures the client's company-level details.
Name(required) — the client's company or trading name. Shown everywhere a client is referenced — invoices, quotes, the client list, search results.Website(optional) — full URL includinghttps://. Surfaces as a clickable link on the client view.Currency code(optional) — the currency you'll bill this client in. Leave it onSystem Defaultto inherit your company's default currency. See Client currency for how the choice flows through to invoices and quotes.Vat number(optional) — the client's VAT or tax registration number. TheValidatebutton on the right runs a format check against the VAT-validation service for the chosen country prefix.
Contact Info
A client must have at least one contact person. The card is marked Required for that reason. Each contact captures:
First name(required)Last name(optional)Email(required)
Below the standard fields, every contact has an Additional Contact Details section. This is where you record extra ways to reach the contact — phone, mobile, etc. Each row is a Type + Value pair. The available types and their validation rules are described in Viewing a client → Contacts.
To add another contact while creating the client, click + Add Contact at the bottom of the section. To remove a row before saving, click its Delete button. After save, contacts can also be added or edited from the client view page.
Address Info
Addresses are optional — the section is marked Optional. Add one or more if you want billing or shipping addresses to appear on this client's invoices and quotes.
Click + Add Address to start a new address. Fields per address:
Street 1,Street 2,City,State,Zip— all optional free-text.Country— a dropdown of countries; placeholder text readsSelect Country.
Addresses don't have a billing-vs-shipping type — they're a flat list, and the first one entered is treated as the default for new documents.
Save
Click Save Client at the bottom of the form. SolidInvoice persists the client (with its contacts and addresses), shows a success message, and redirects you to the client view page.
You can leave Address Info empty and add addresses later from the client view page — the same is true for additional contacts.
What happens next
The new client appears on the Active tab of the client list and becomes selectable when creating new quotes or invoices. The client view page — where you land after saving — gives you everything you need to add credit, edit details, or start their first invoice.