Creating an invoice
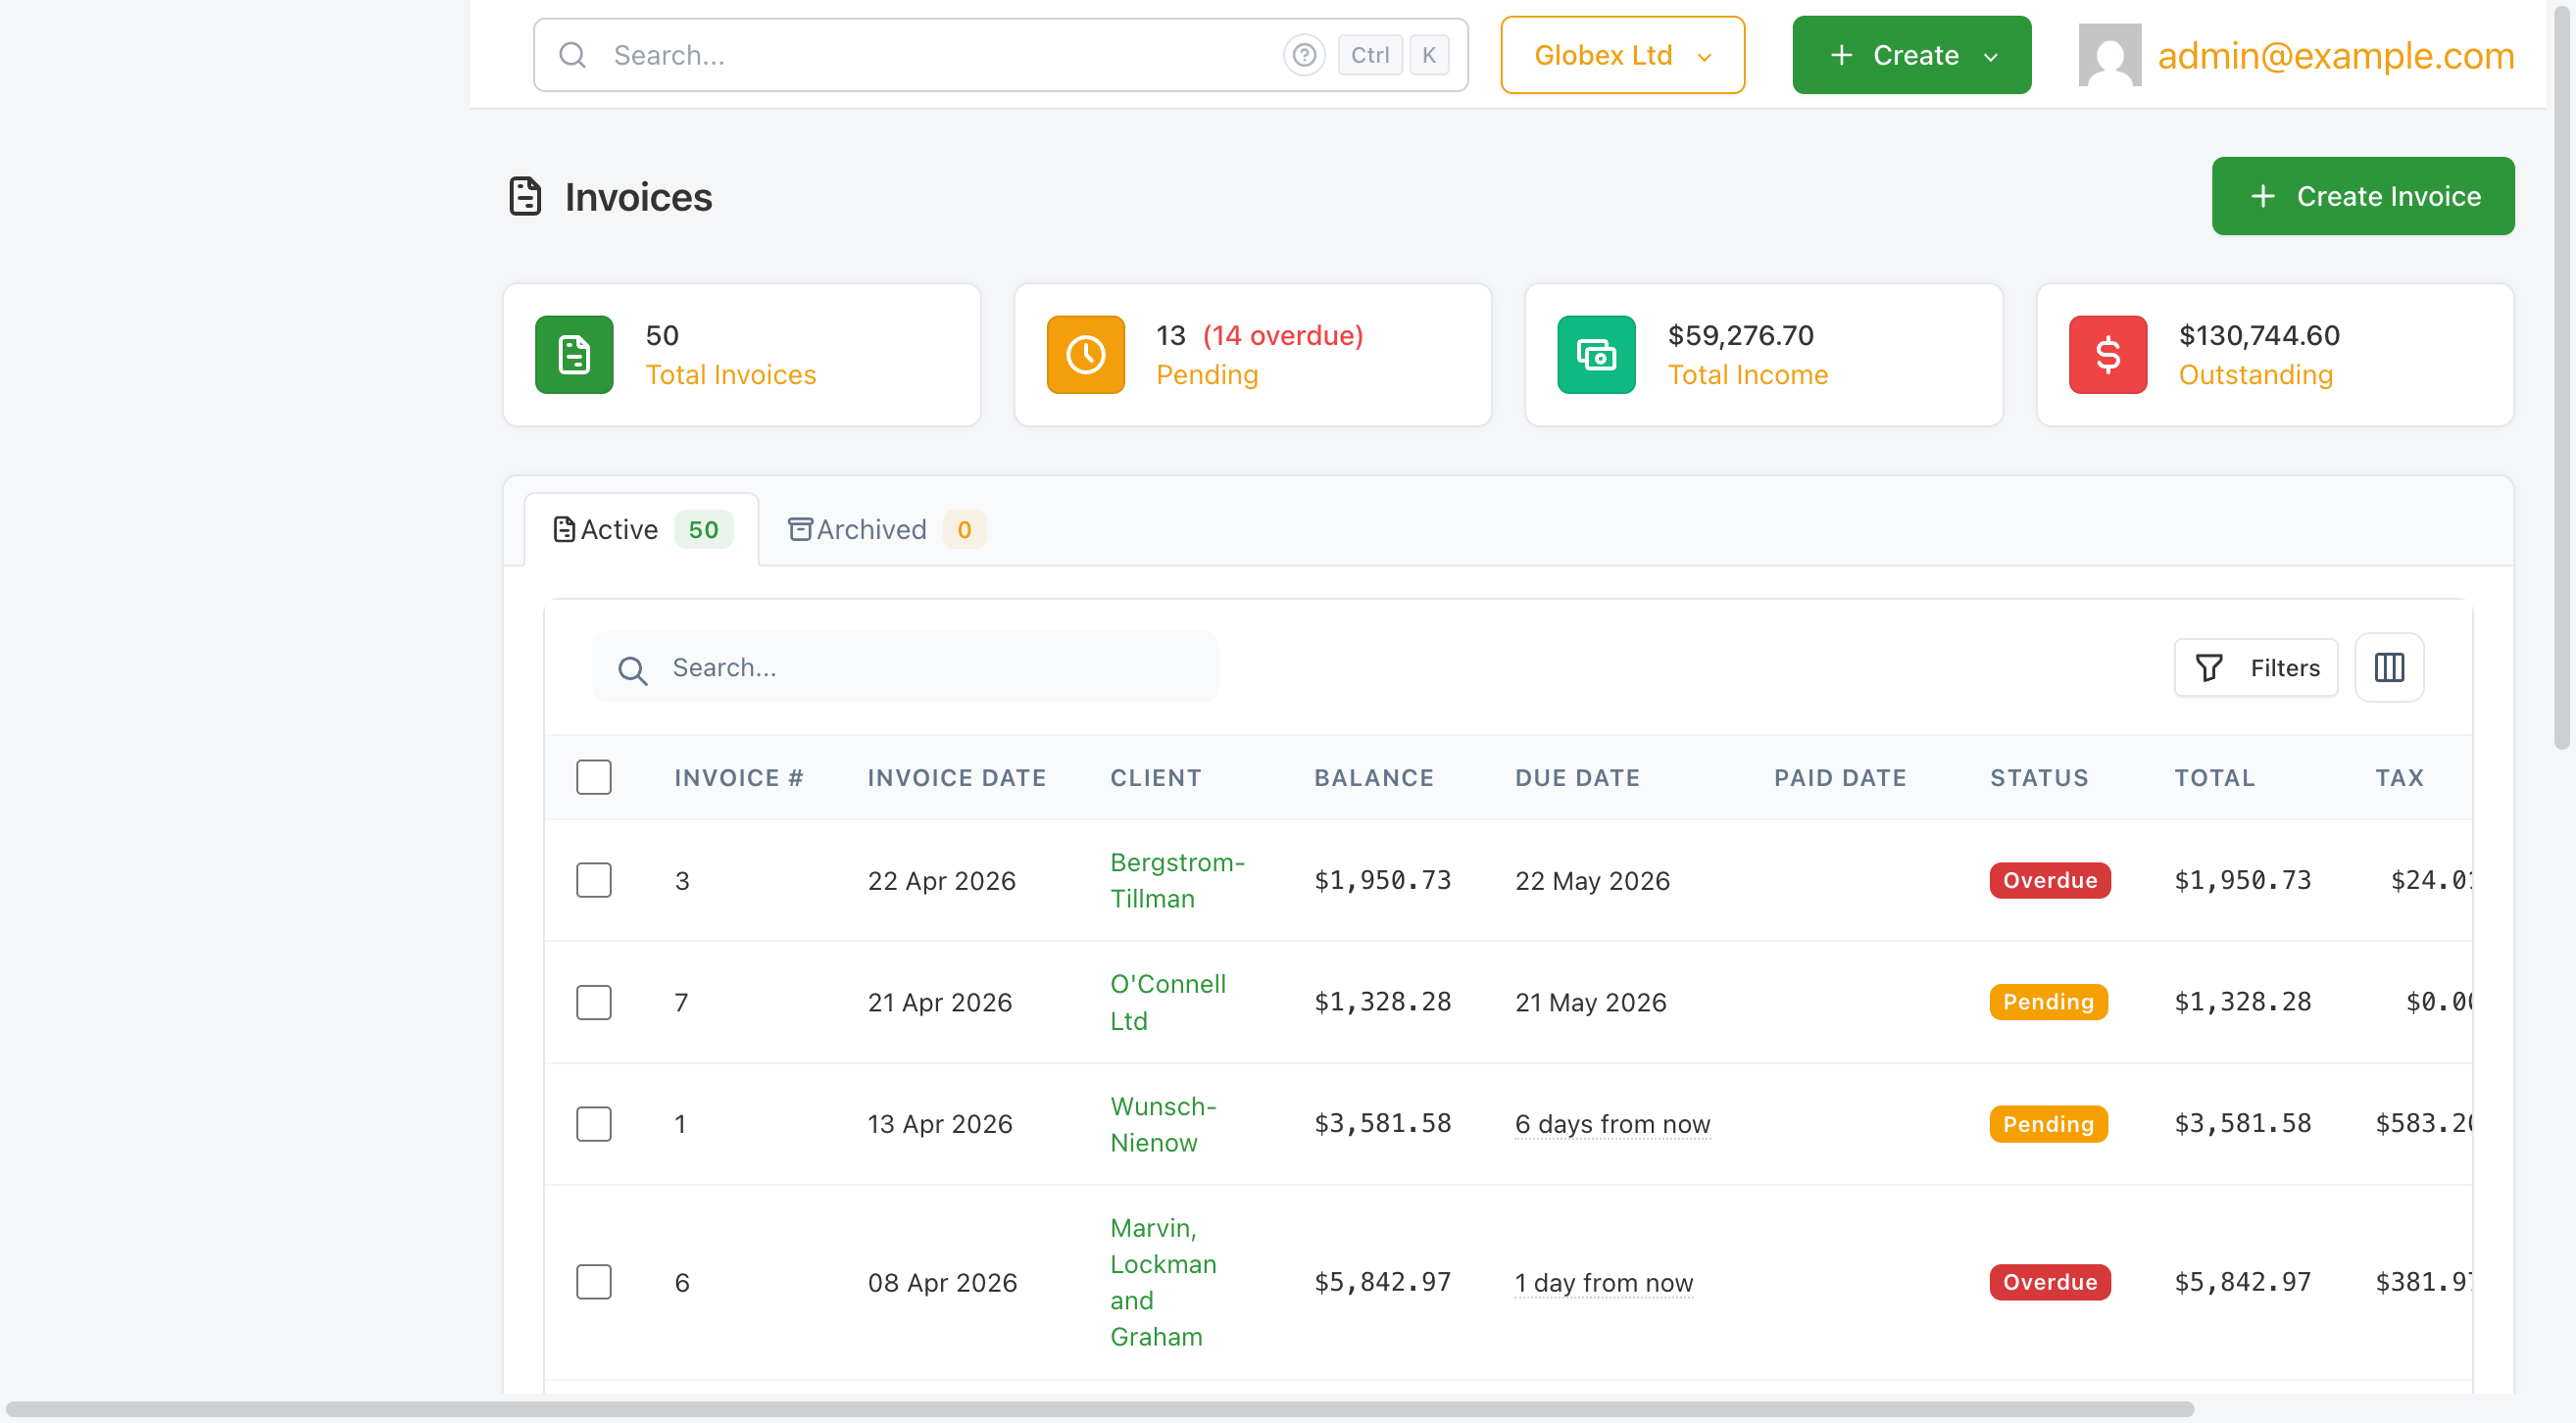
To create a new invoice, go to Invoices in the sidebar and click + Create Invoice, or use the global + Create button at the top of the page.
Choose a client
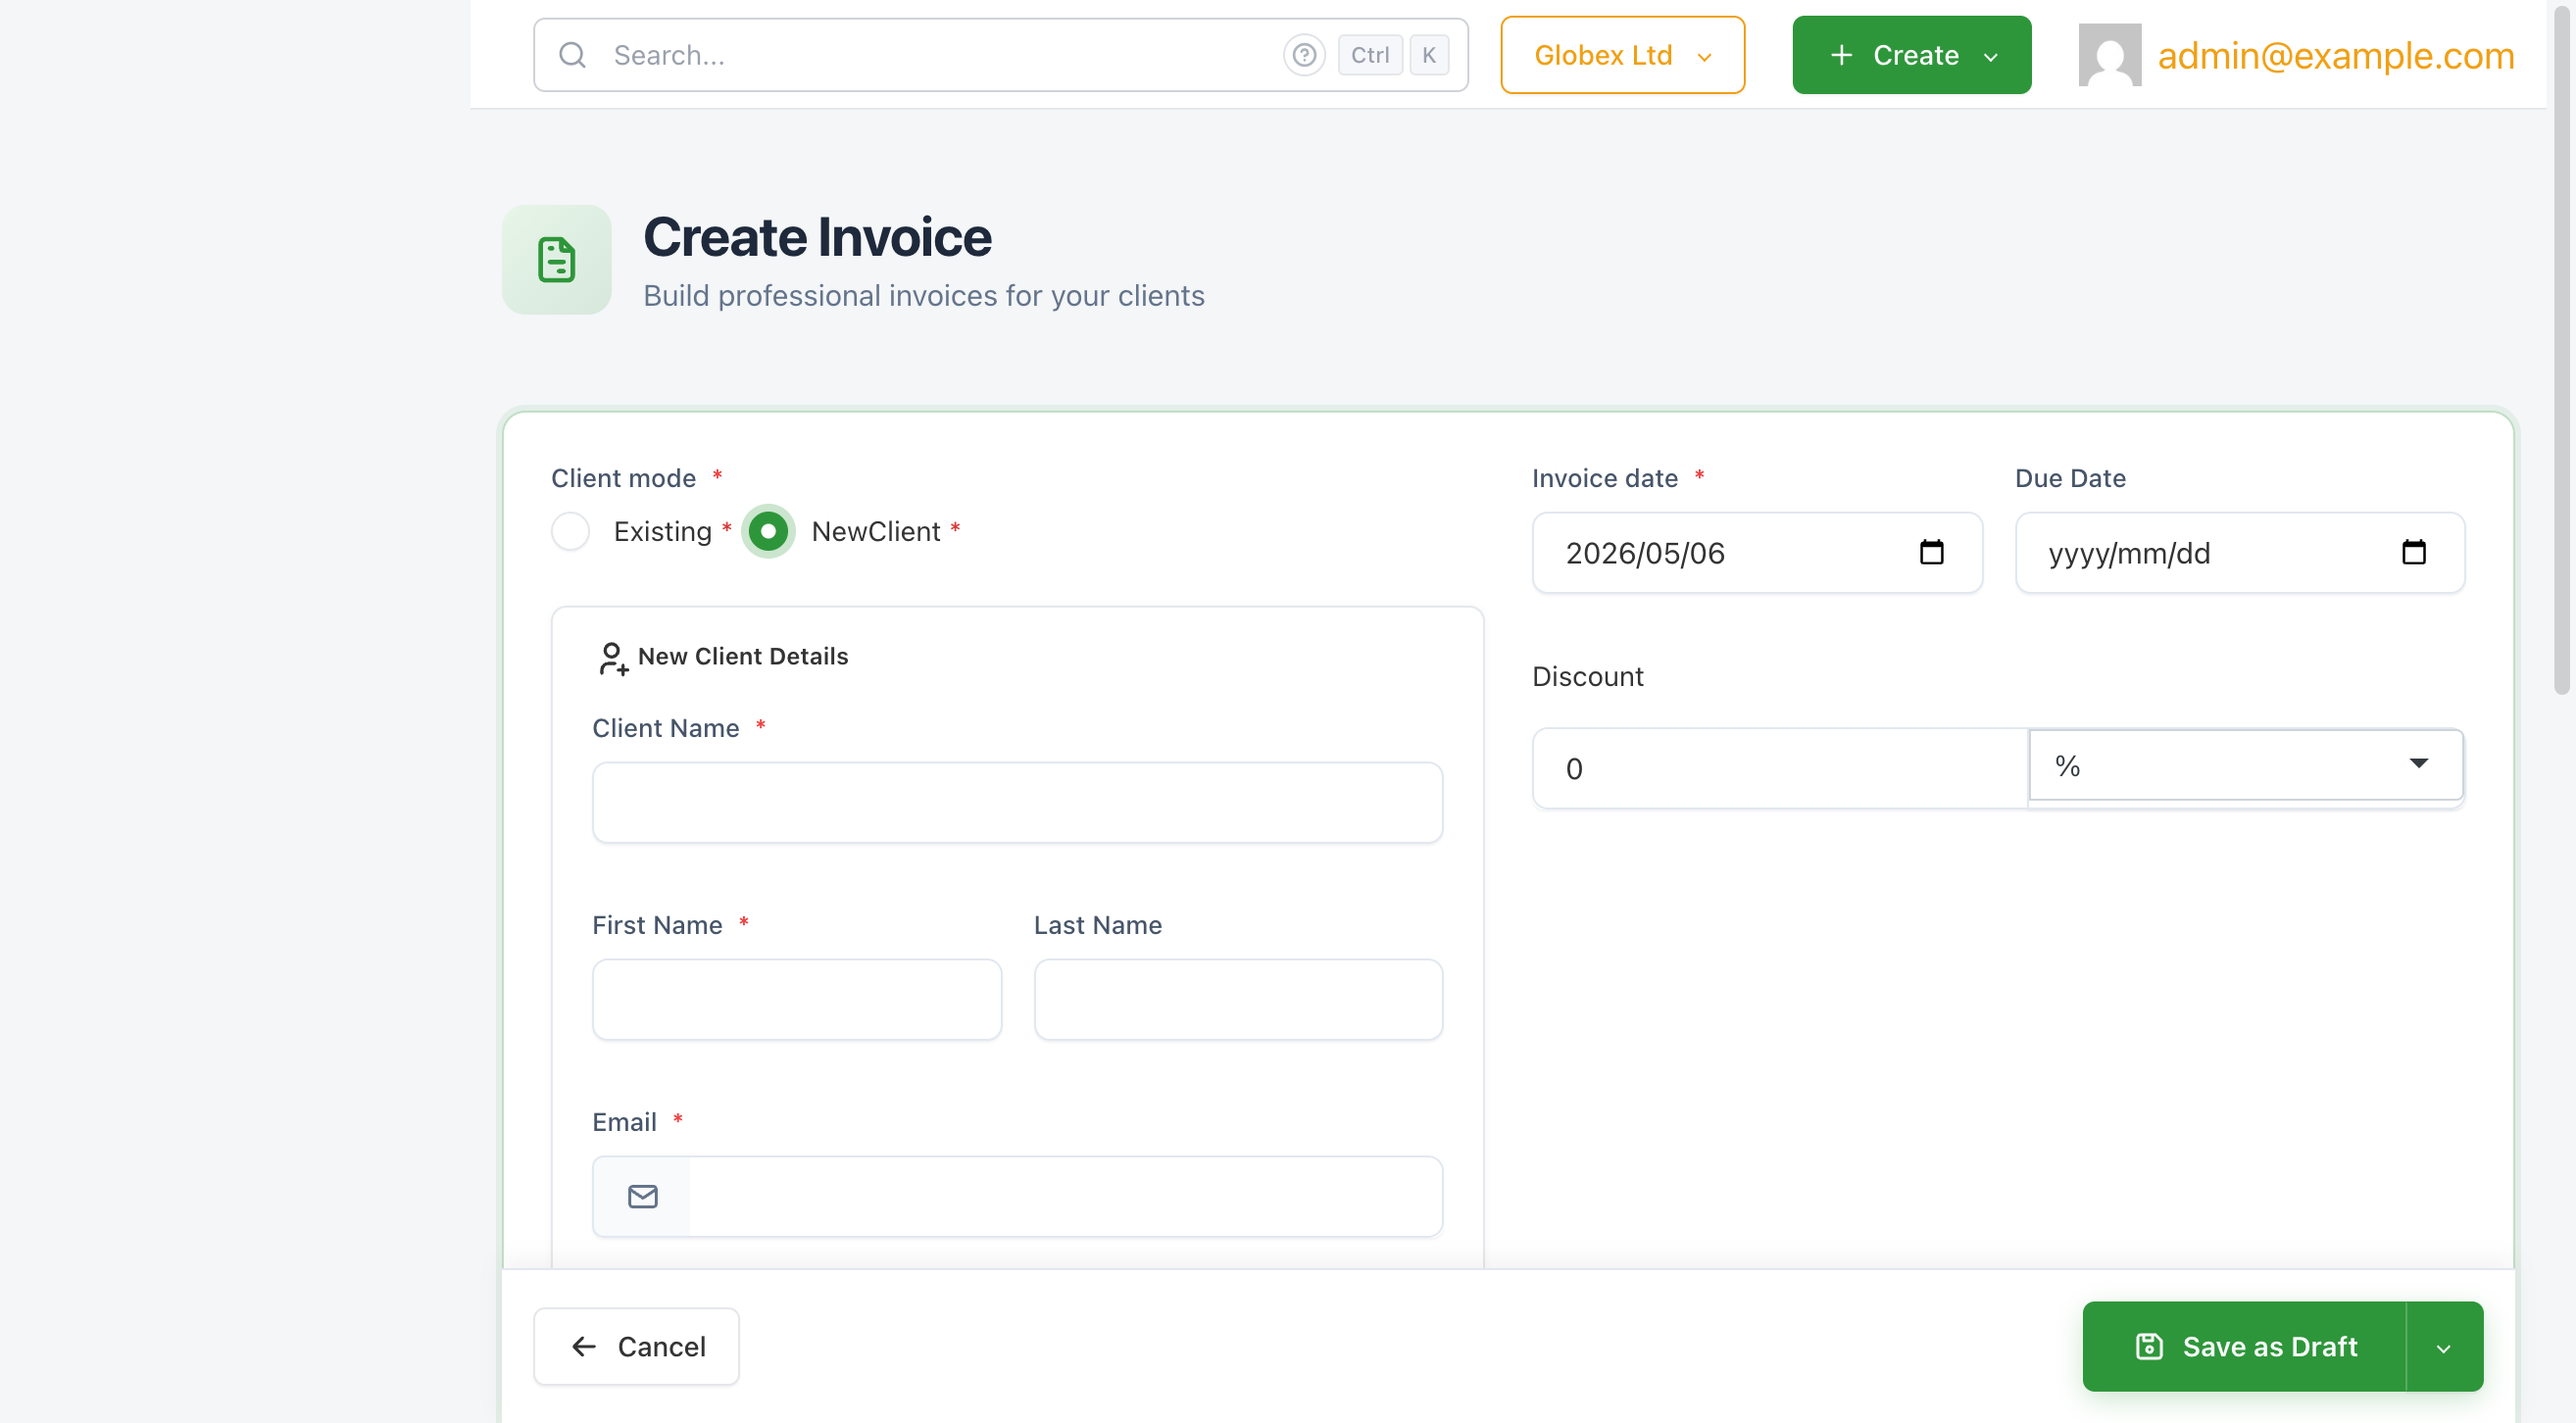
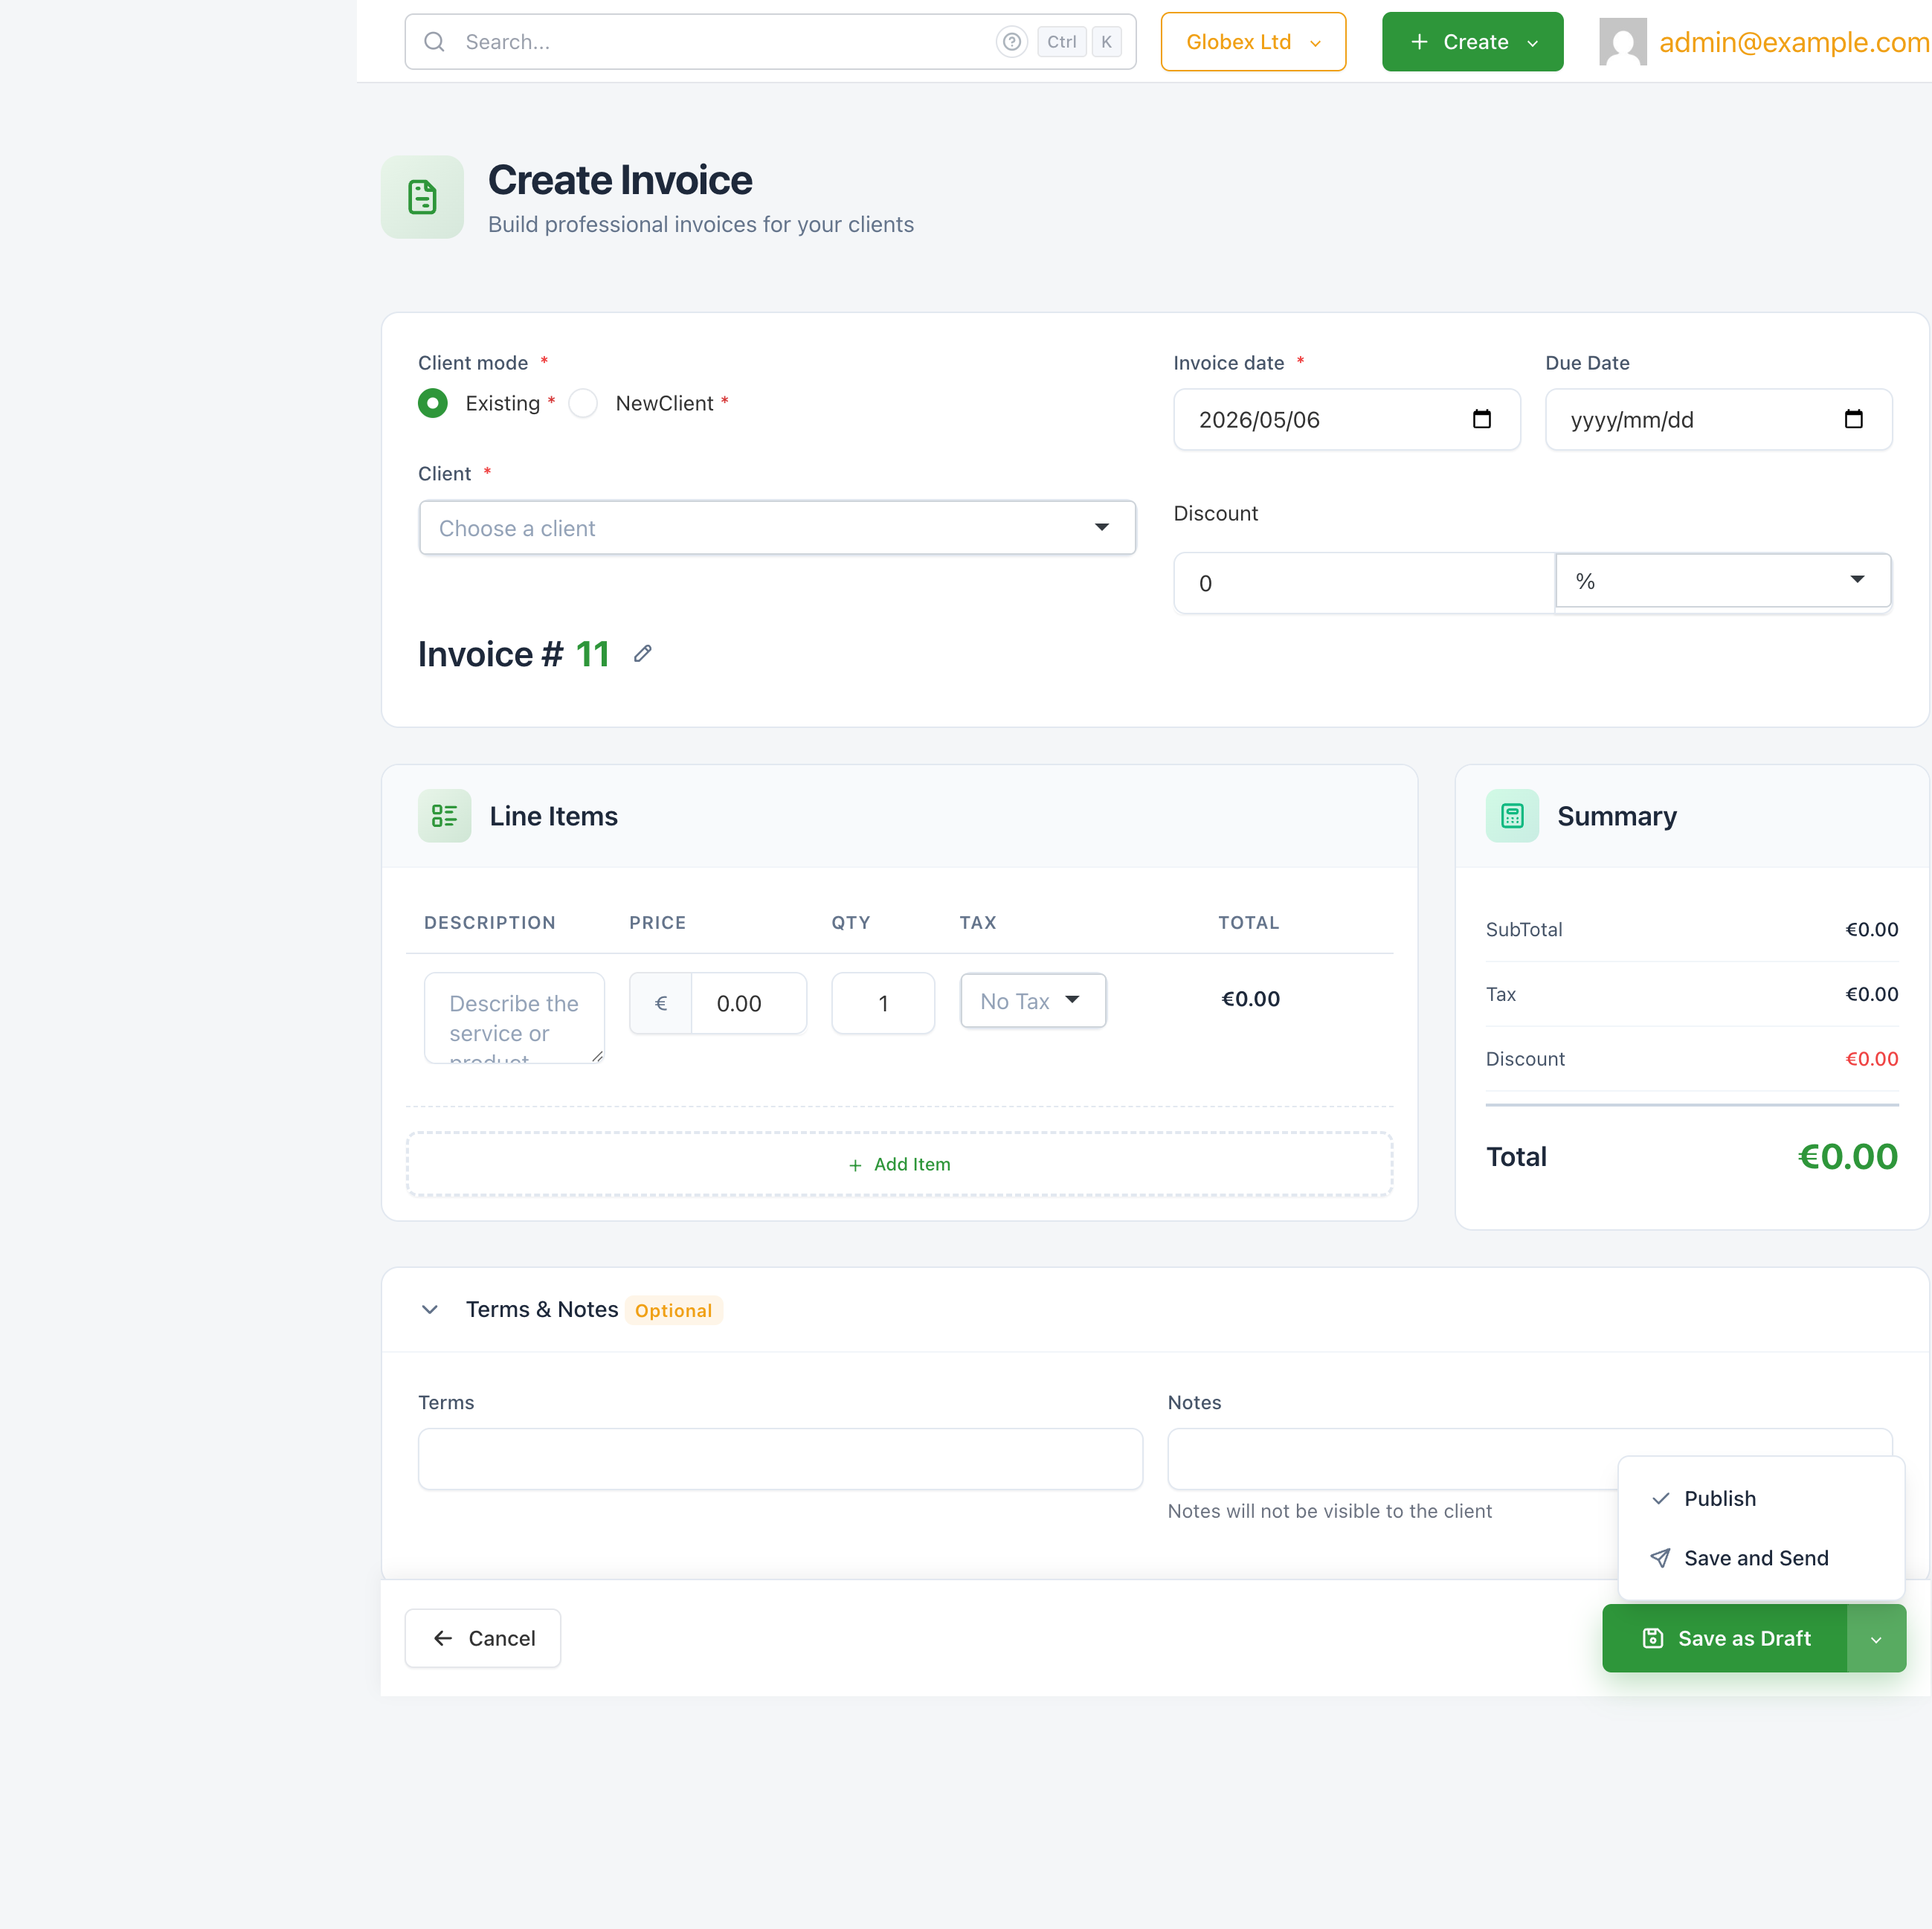
The first step is selecting who the invoice is for. SolidInvoice offers two modes:
- Existing — choose a client already in your contacts list from the dropdown.
- NewClient — create a new client on the spot by entering their name, contact name, and email address. The new client is saved to your contacts automatically.
Invoice details
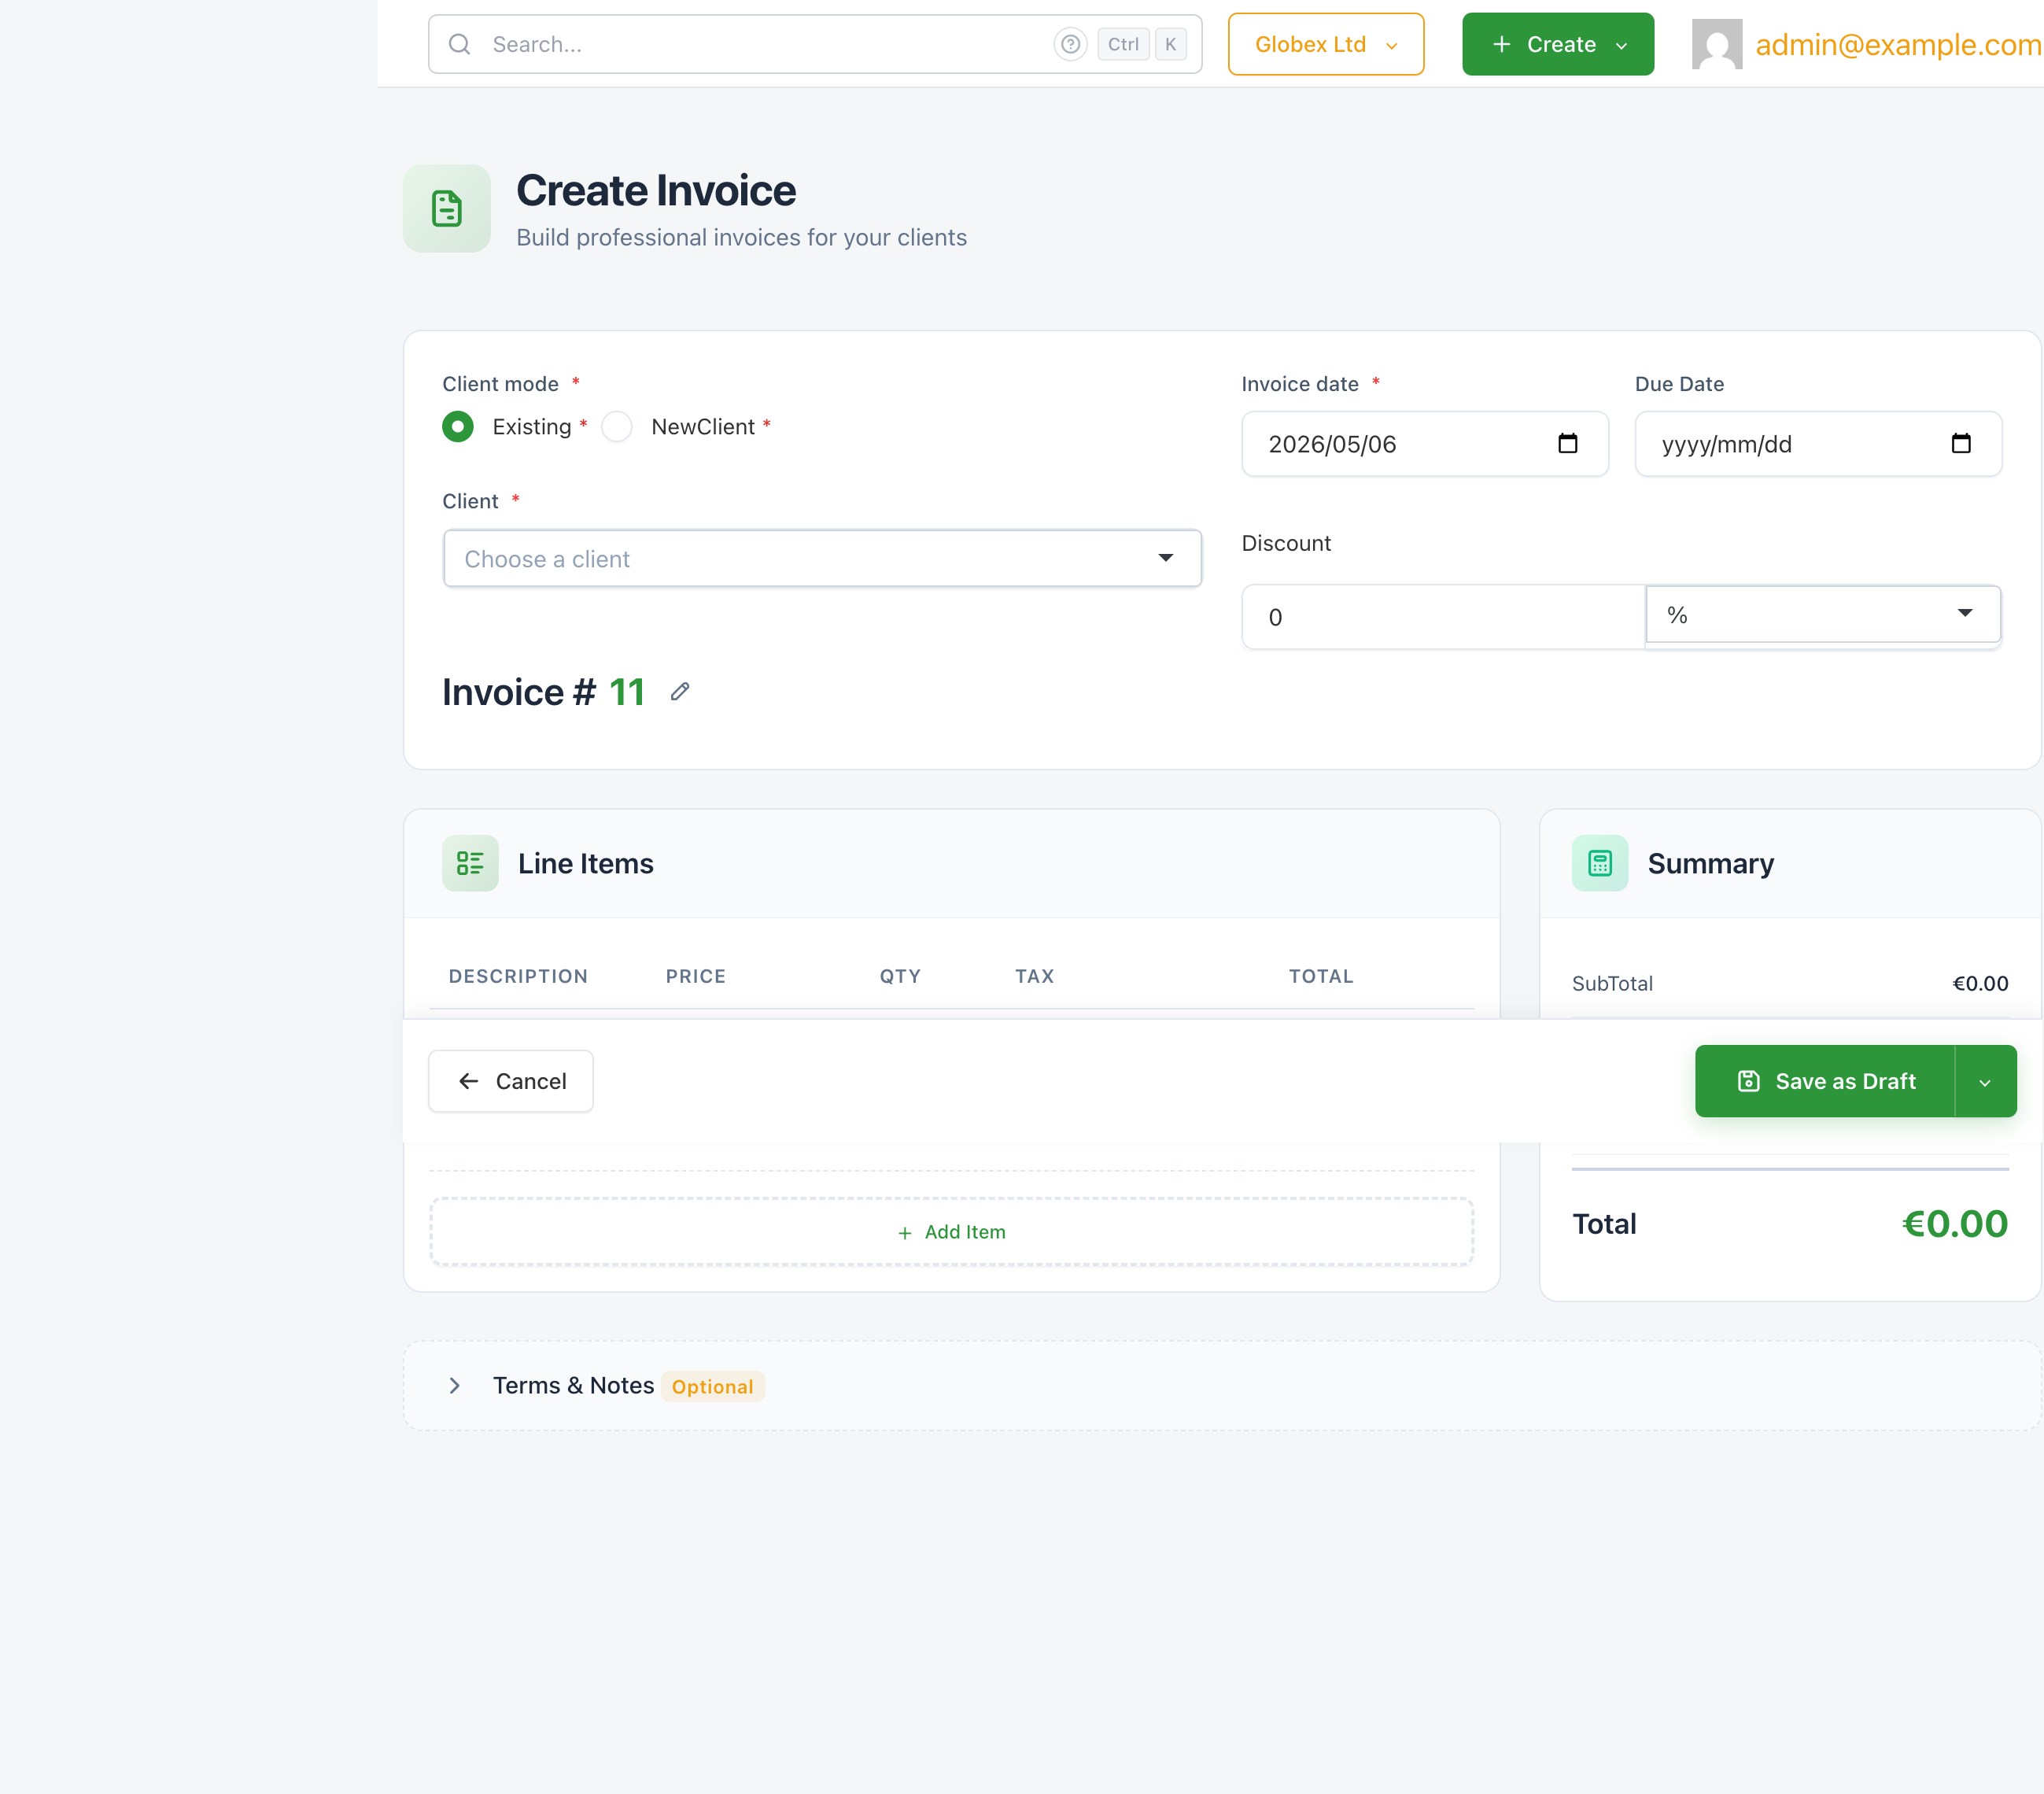
With the client set, fill in the invoice header fields:
| Field | Required | Description |
|---|---|---|
| Invoice date | Yes | The date the invoice is issued. Defaults to today. |
| Due Date | No | The date payment is due. Leave blank if there is no fixed deadline. |
| Invoice # | Auto | Auto-generated from your ID settings. Click the pencil icon to change it for this invoice. |
| Discount | No | An invoice-wide discount — enter a value and choose % for a percentage or your currency symbol for a fixed amount. |
Line items
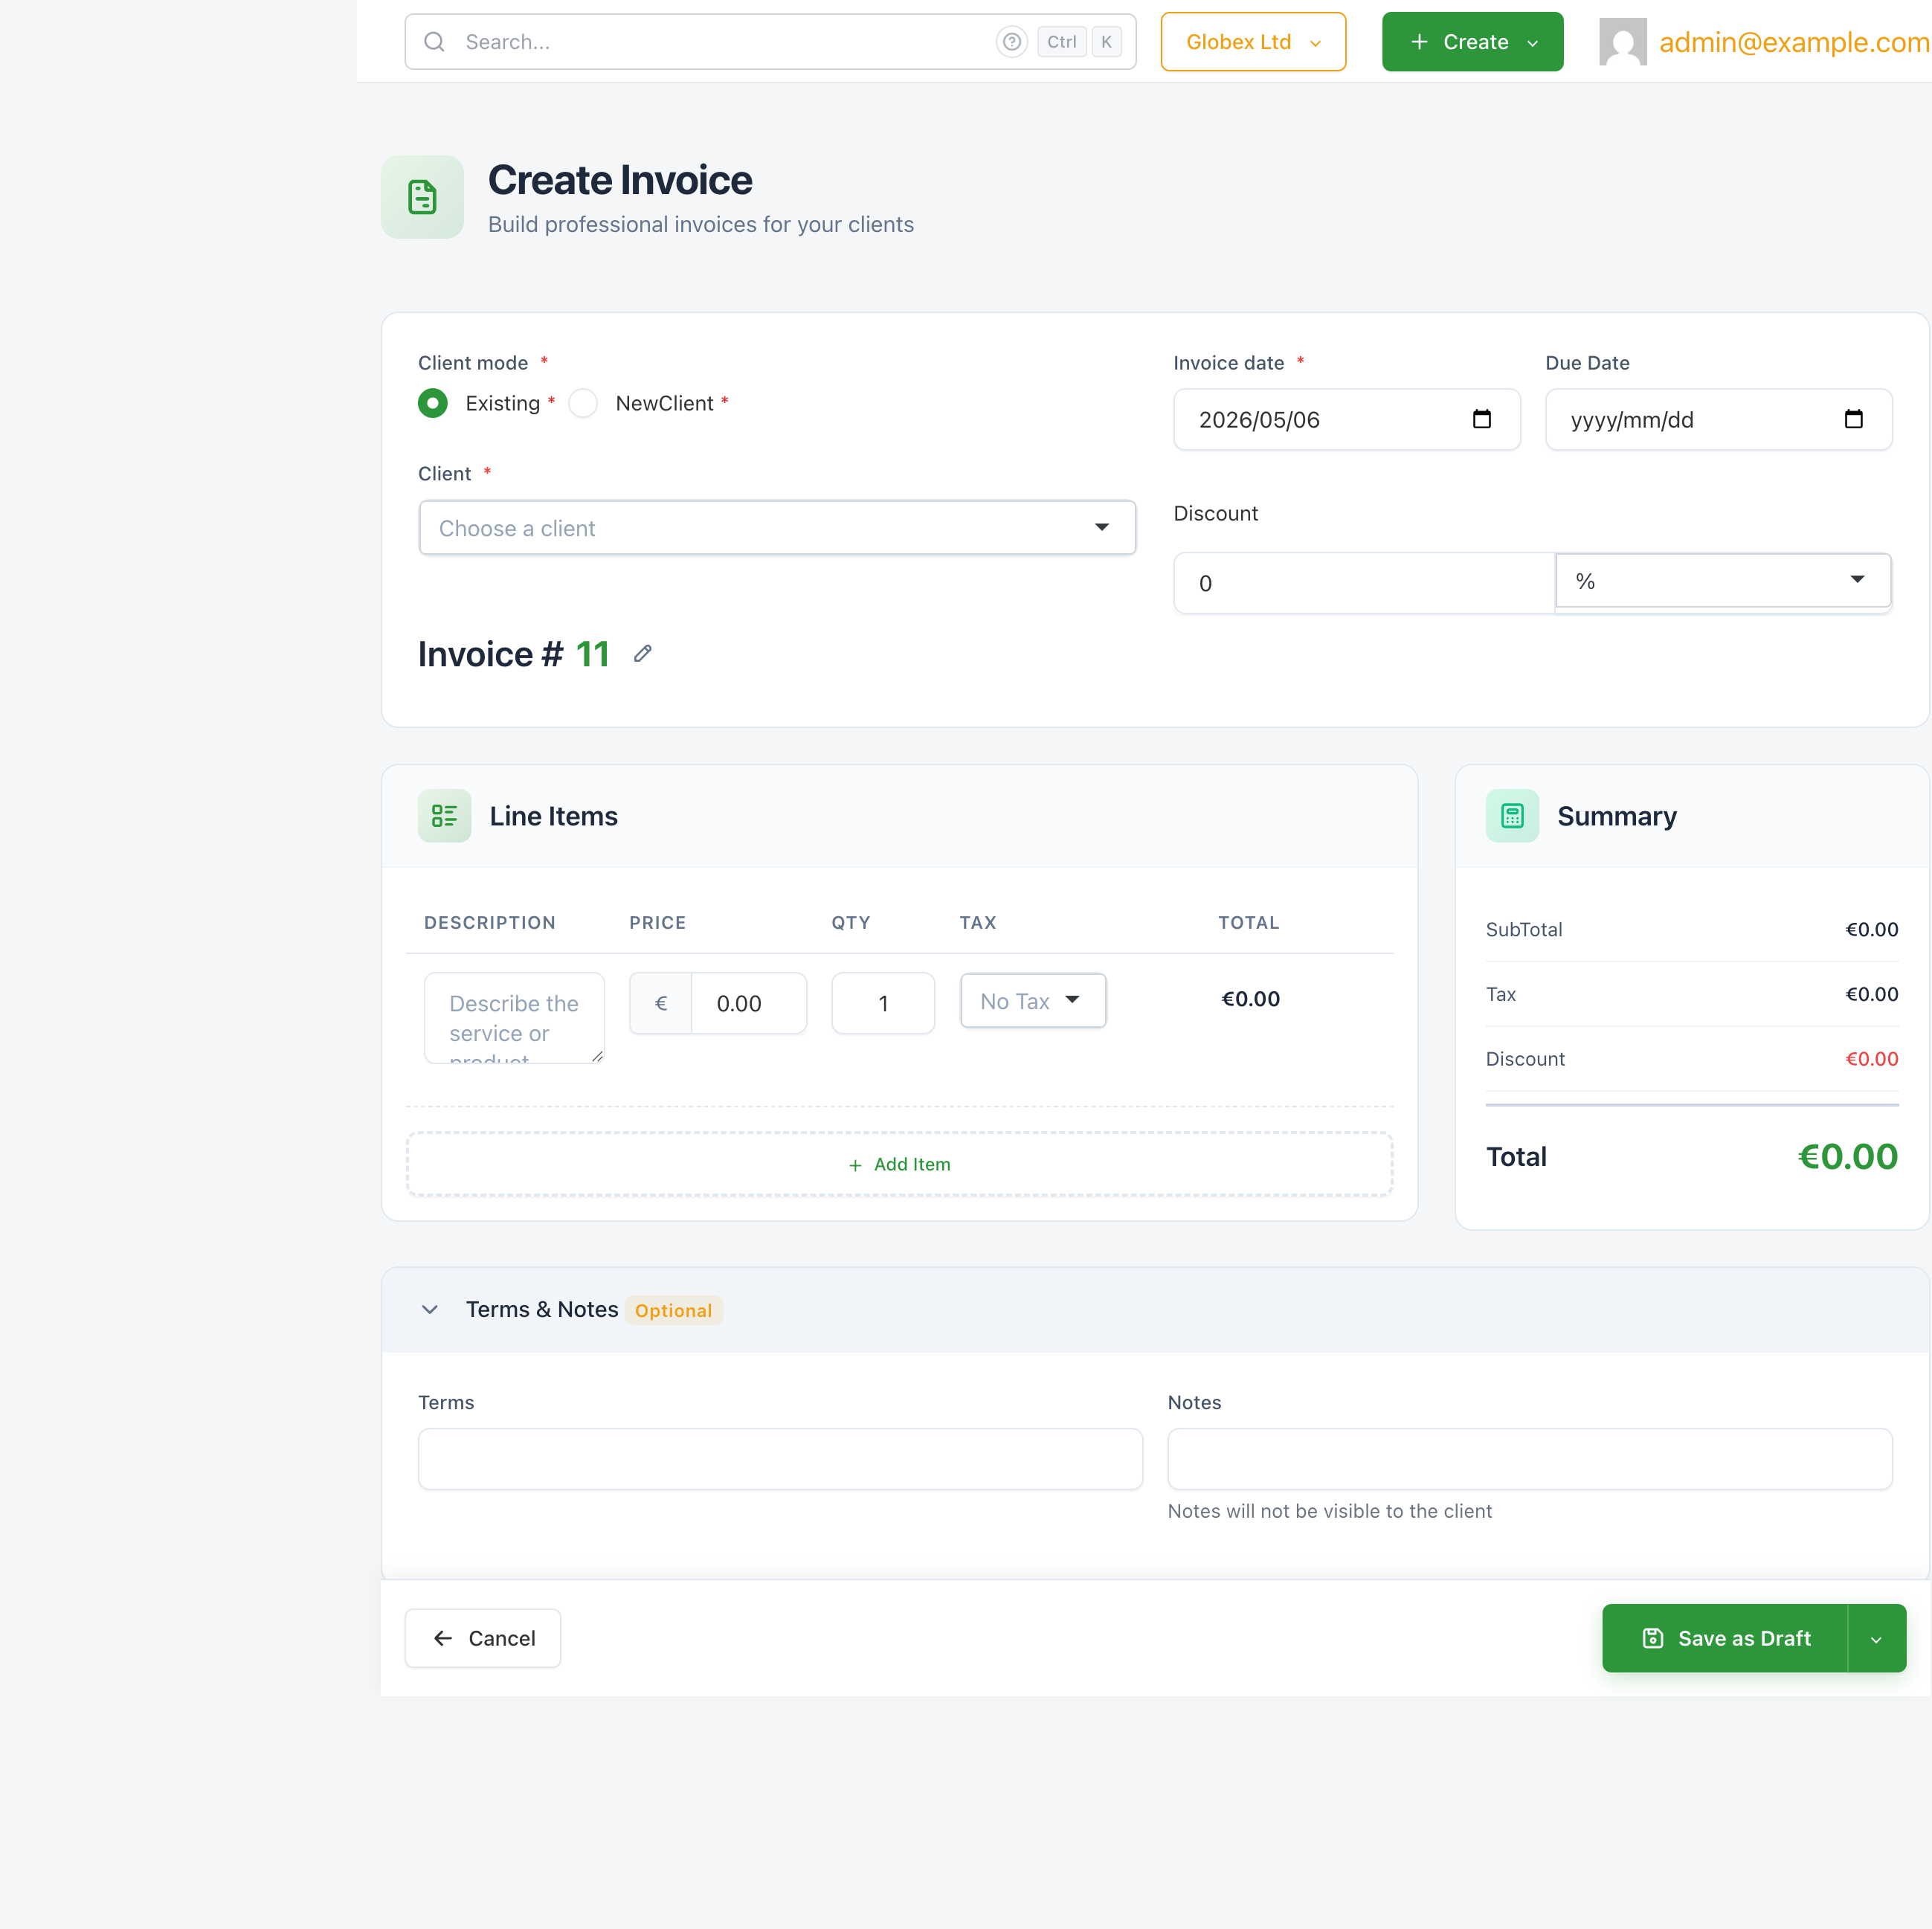
Every invoice needs at least one line item. The form starts with one blank row; click + Add Item to add more.
Each line item has four fields:
| Field | Description |
|---|---|
| Description | What the service or product is. Supports multiple lines. |
| Price | The unit price. |
| Qty | The quantity. Defaults to 1. |
| Tax | An optional tax rate to apply to this line. Tax rates are managed in System → Taxes. |
The Total column and the Summary panel on the right update in real time as you type.
Tax is applied per line item, not to the invoice as a whole. Different lines can carry different tax rates.
Terms and notes
Click Terms & Notes at the bottom of the form to expand this optional section.
- Terms — payment terms or conditions. This text appears on the invoice and is visible to the client.
- Notes — internal notes for your own records. Notes are not visible to the client and do not appear on the invoice or PDF.
Saving the invoice
Click the dropdown arrow next to Save as Draft to see all save options:
| Option | What it does |
|---|---|
| Save as Draft | Saves the invoice without sending it. Status is set to Draft. You can edit and publish it later. |
| Publish | Saves and marks the invoice as Pending, ready to be paid. Does not send an email. |
| Save and Send | Saves, marks as Pending, and immediately emails the invoice to all contacts on the client. |
Use Save as Draft while you're still working on an invoice. Use Publish or Save and Send when it's ready for the client.