System Installation
When you open SolidInvoice for the first time, you're sent to /install. The wizard checks your system, sets up the database, configures the application, and creates your admin user.
Before you start
- Browse to the application's root URL. On a fresh install you'll be redirected to
/installautomatically. - Have your database connection details to hand. If you plan to use SQLite (the embedded database) you don't need anything extra.
The Quick install, Homebrew, and Docker images bundle their own PHP runtime. They auto-skip the System Requirements step described below — you'll go straight from the welcome screen to the database step.
Welcome
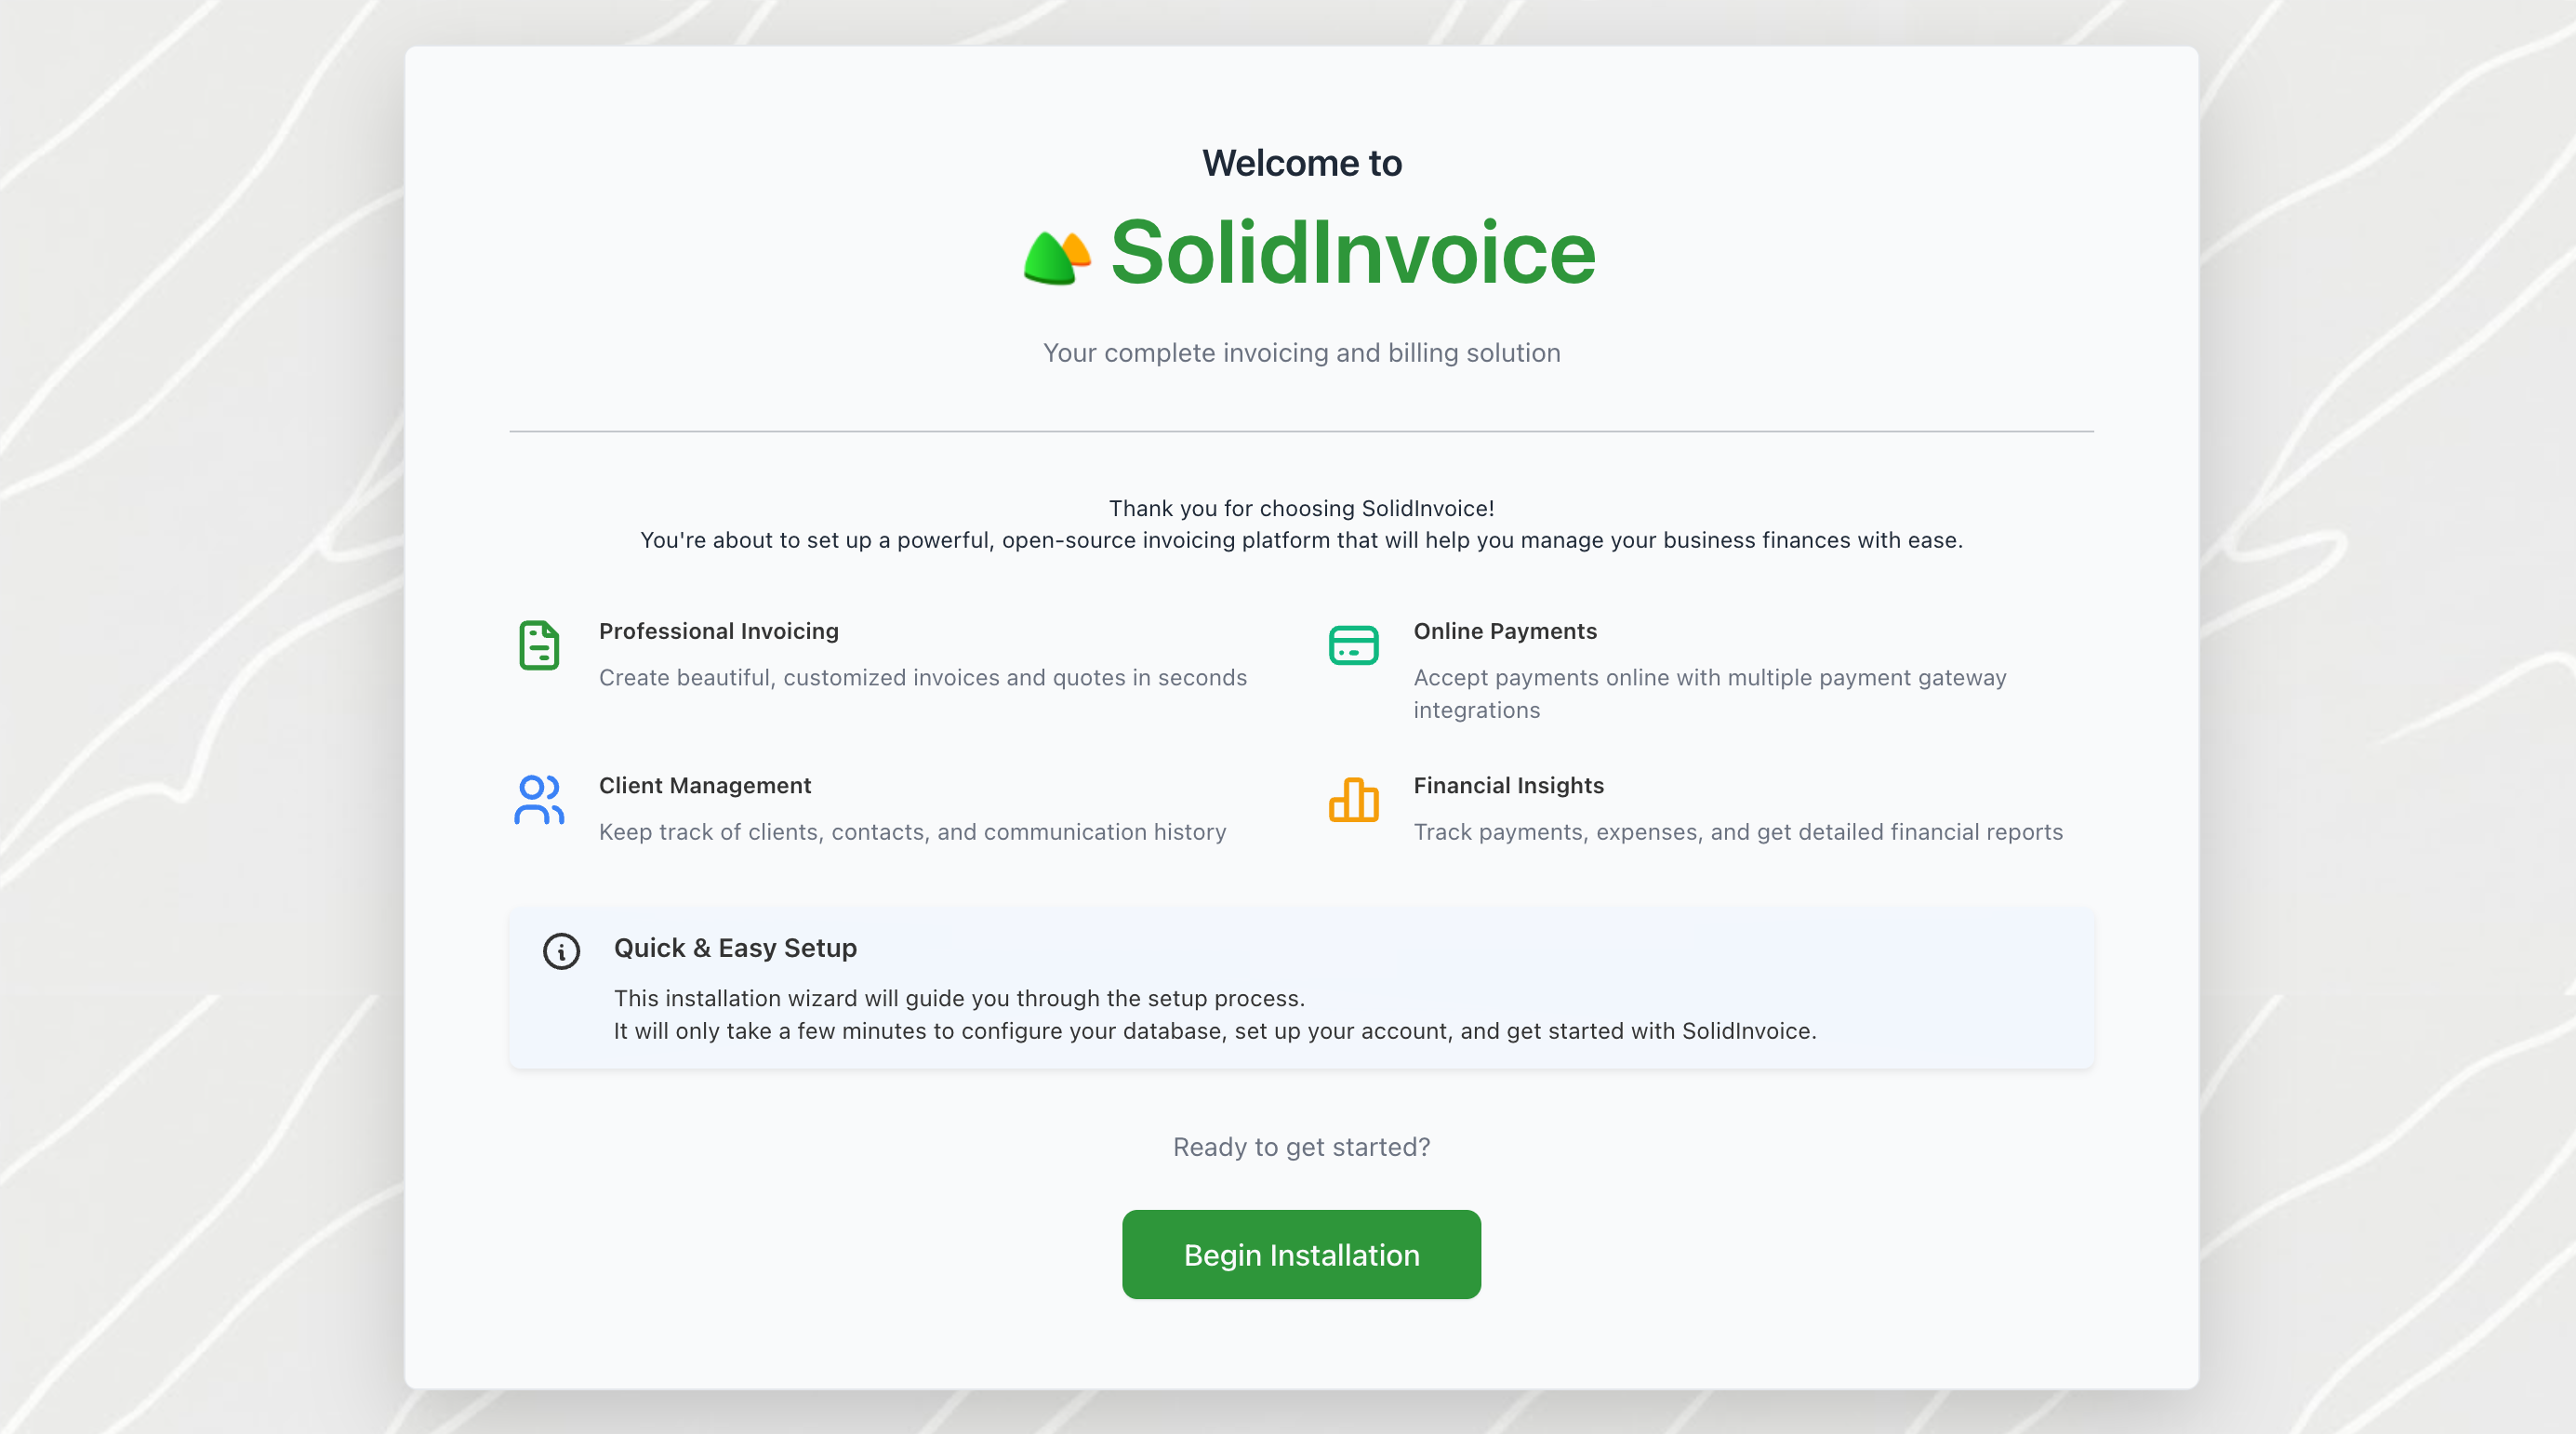
The first screen introduces the wizard. Click Begin Installation to start.
System Requirements
This step verifies your environment can run SolidInvoice. Two summary cards show how many Required and Recommended checks pass. The Next button stays disabled while any required check is failing.
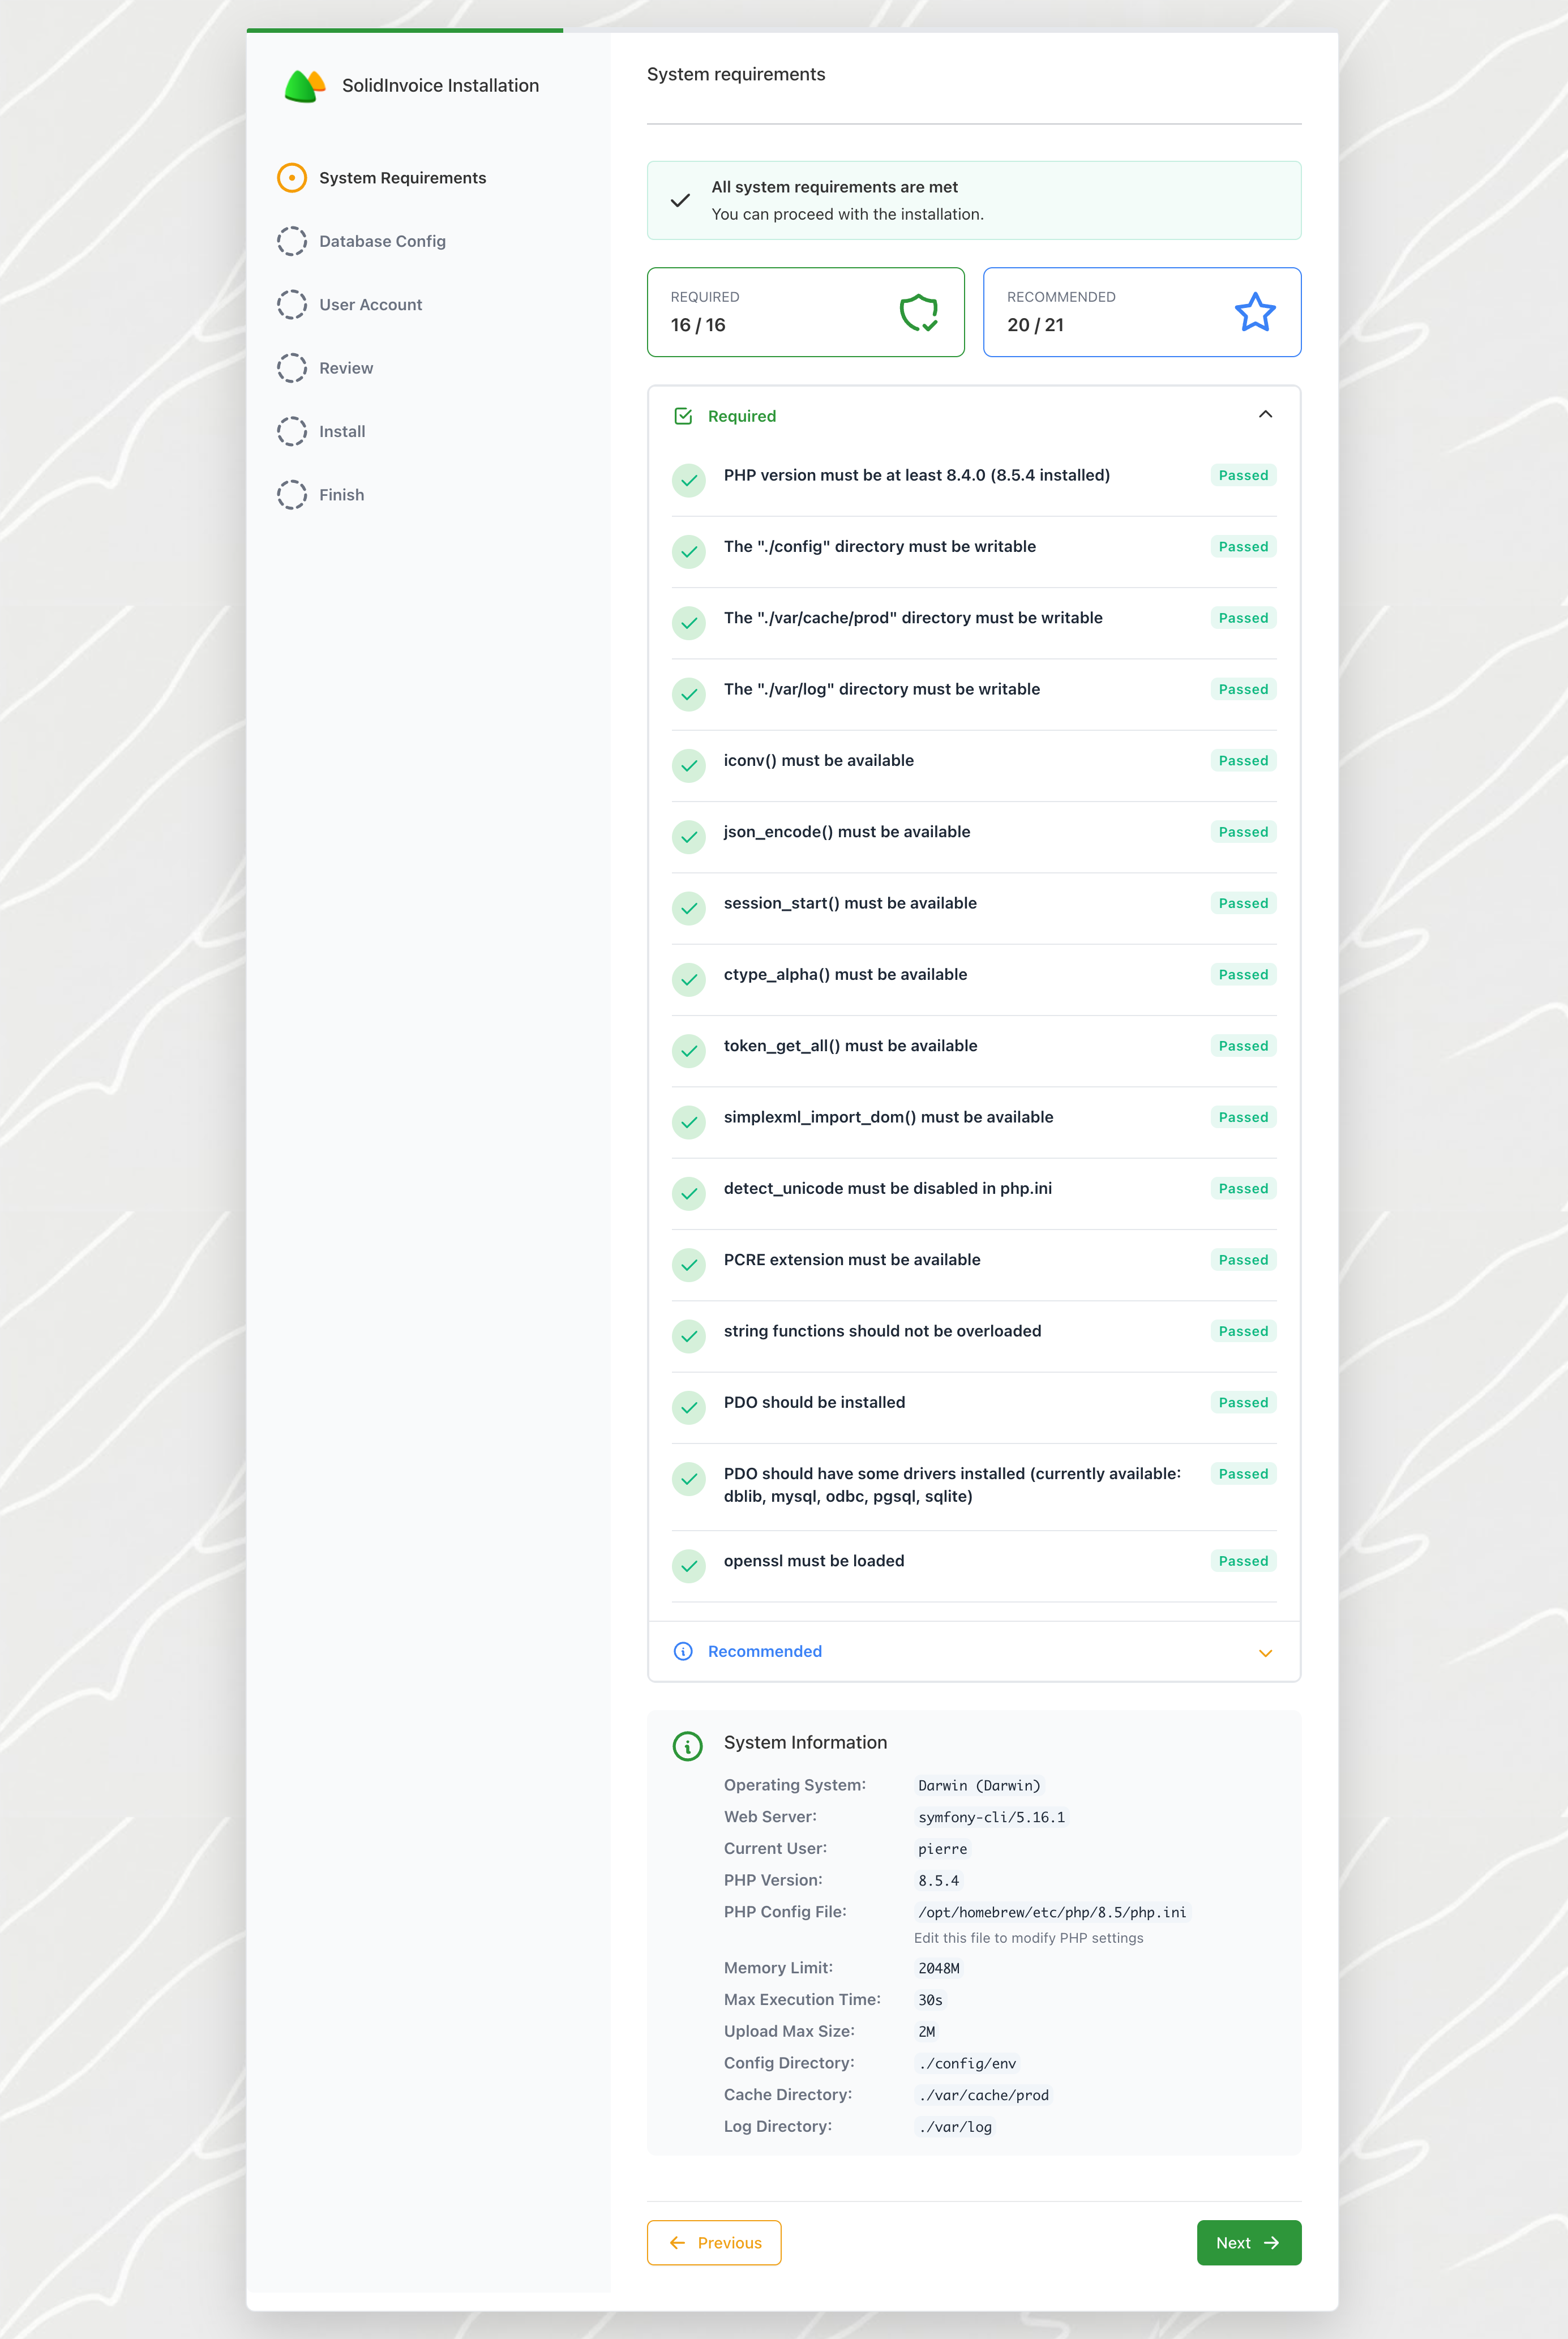
Two collapsible accordions list the individual checks:
- Required — must all pass before you can continue. Failures show a
Failedbadge and a short hint about what to change. - Recommended —
Warningbadges here won't block install but are worth fixing for full functionality.
The System Information card below the checks shows the OS, web server, PHP version, the path to the active php.ini, memory limit, max execution time, upload max size, and the configured config / cache / log directories. Use these values when filing a support issue.
If you change a setting, refresh the page (the browser's reload button) to re-run the checks. Once all required checks pass, click Next.
Database configuration
Pick the database engine SolidInvoice should use.
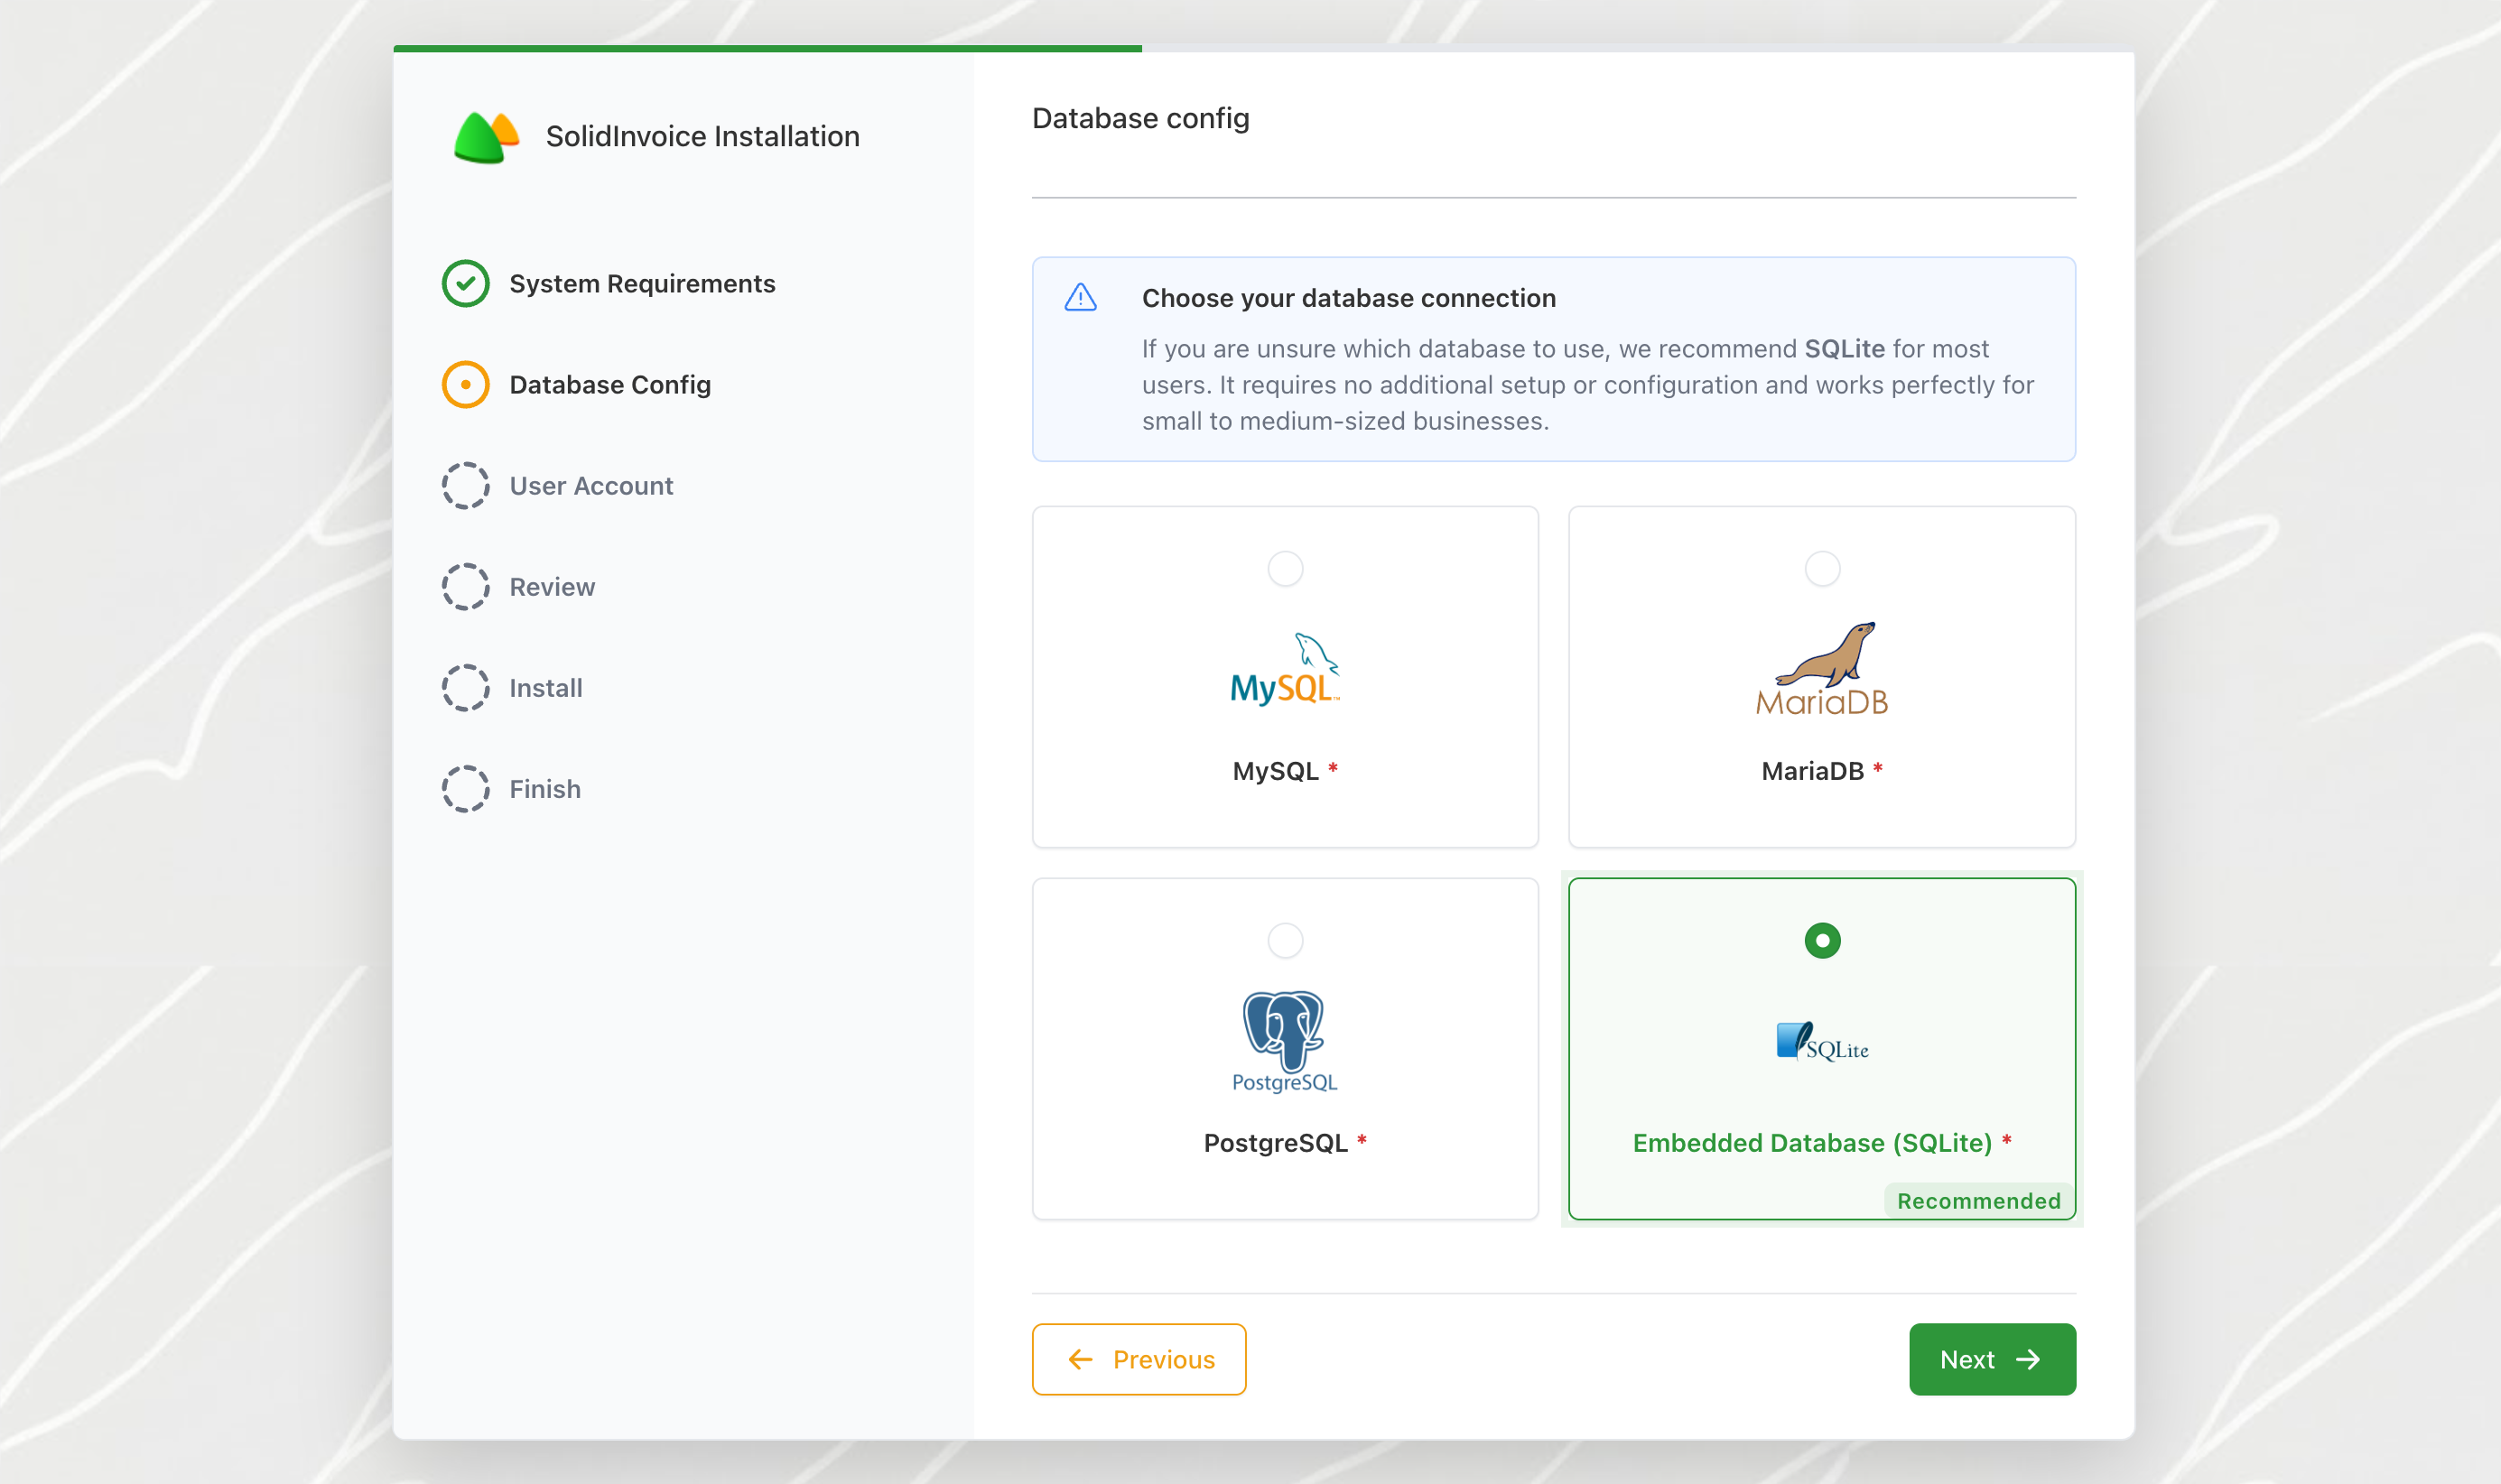
The available options depend on which PDO drivers are installed on your server. The full list SolidInvoice can use is:
- MySQL
- MariaDB
- PostgreSQL
- Embedded Database (SQLite) — recommended for small installs and trial setups; needs no separate database server.
If you select SQLite, there's nothing more to fill in — the database file is created for you under the application's config directory.
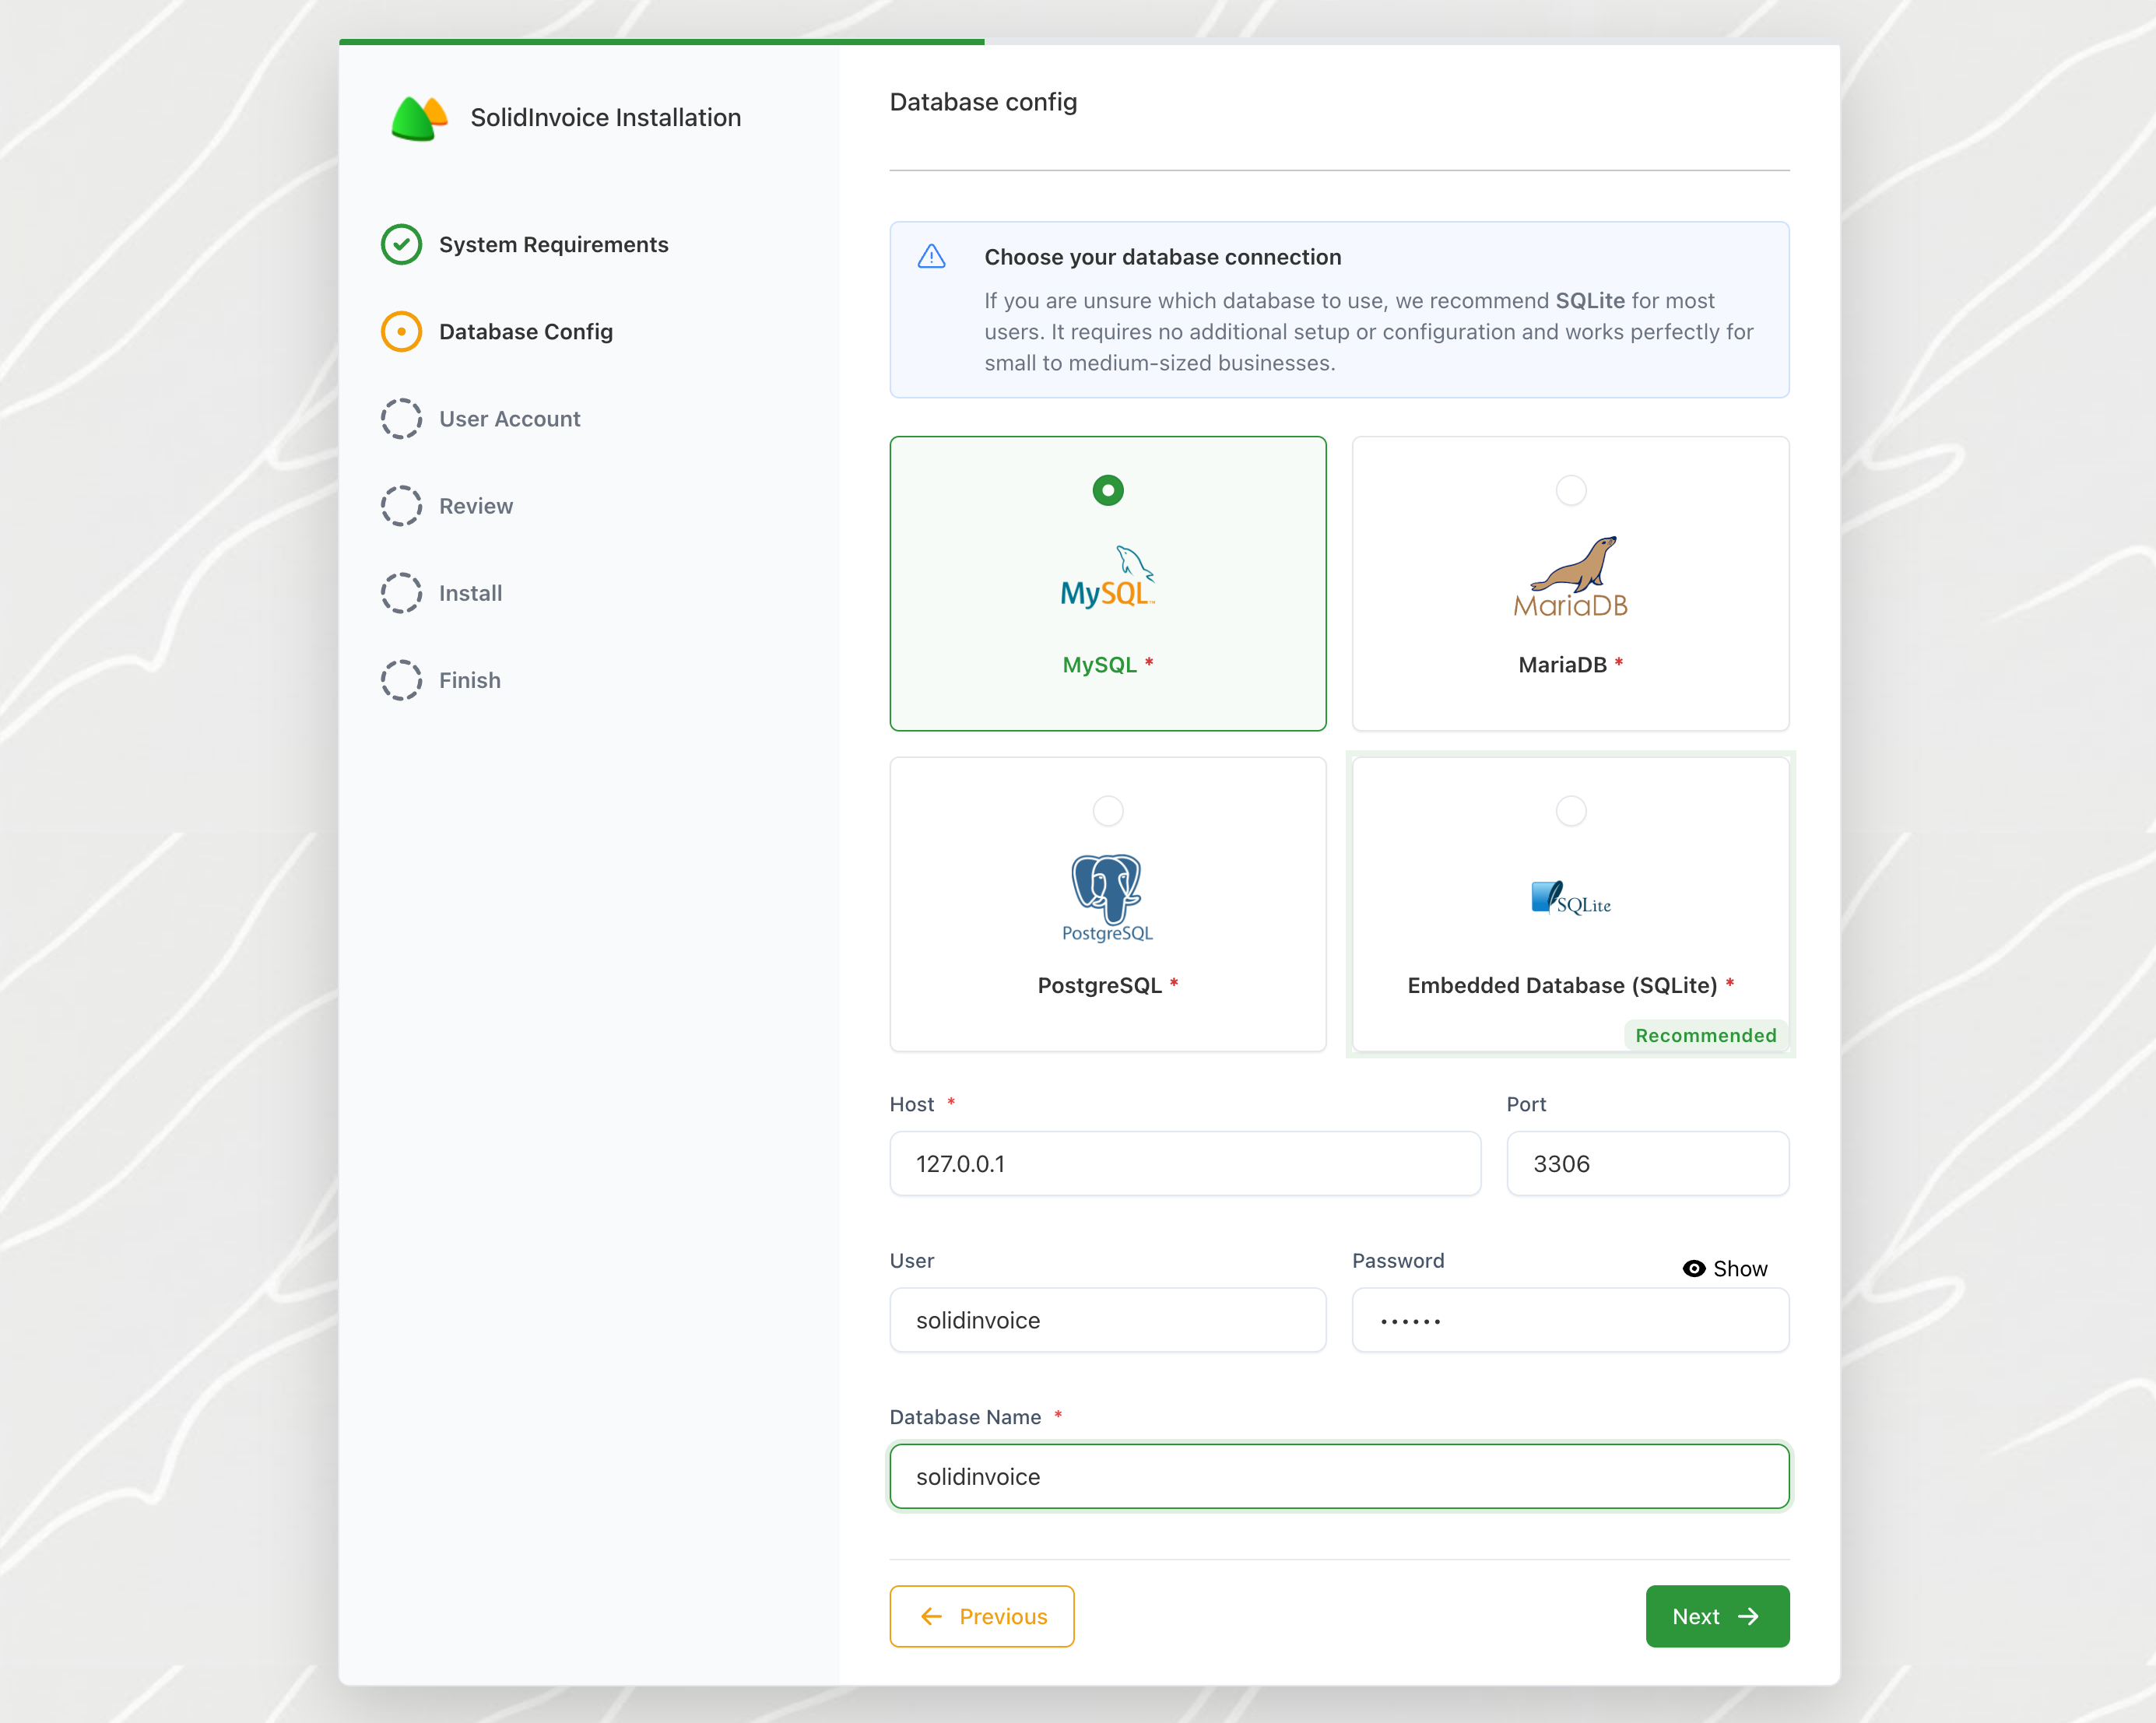
For MySQL, MariaDB, or PostgreSQL, fill in the connection details:
| Field | Notes |
|---|---|
Host | Hostname or IP of the database server (defaults to localhost). |
Port | Optional. Leave blank to use the engine's default. |
User | Database user. |
Password | Password for that user. |
Database Name | The schema/database to use. SolidInvoice will create it if it doesn't already exist (the user must have permission to do so). |
Click Next. SolidInvoice connects to the server to verify the credentials before moving on; any errors are shown above the form.
Your account
This step combines two things: how the app will refer to itself, and the admin user you'll log in as.
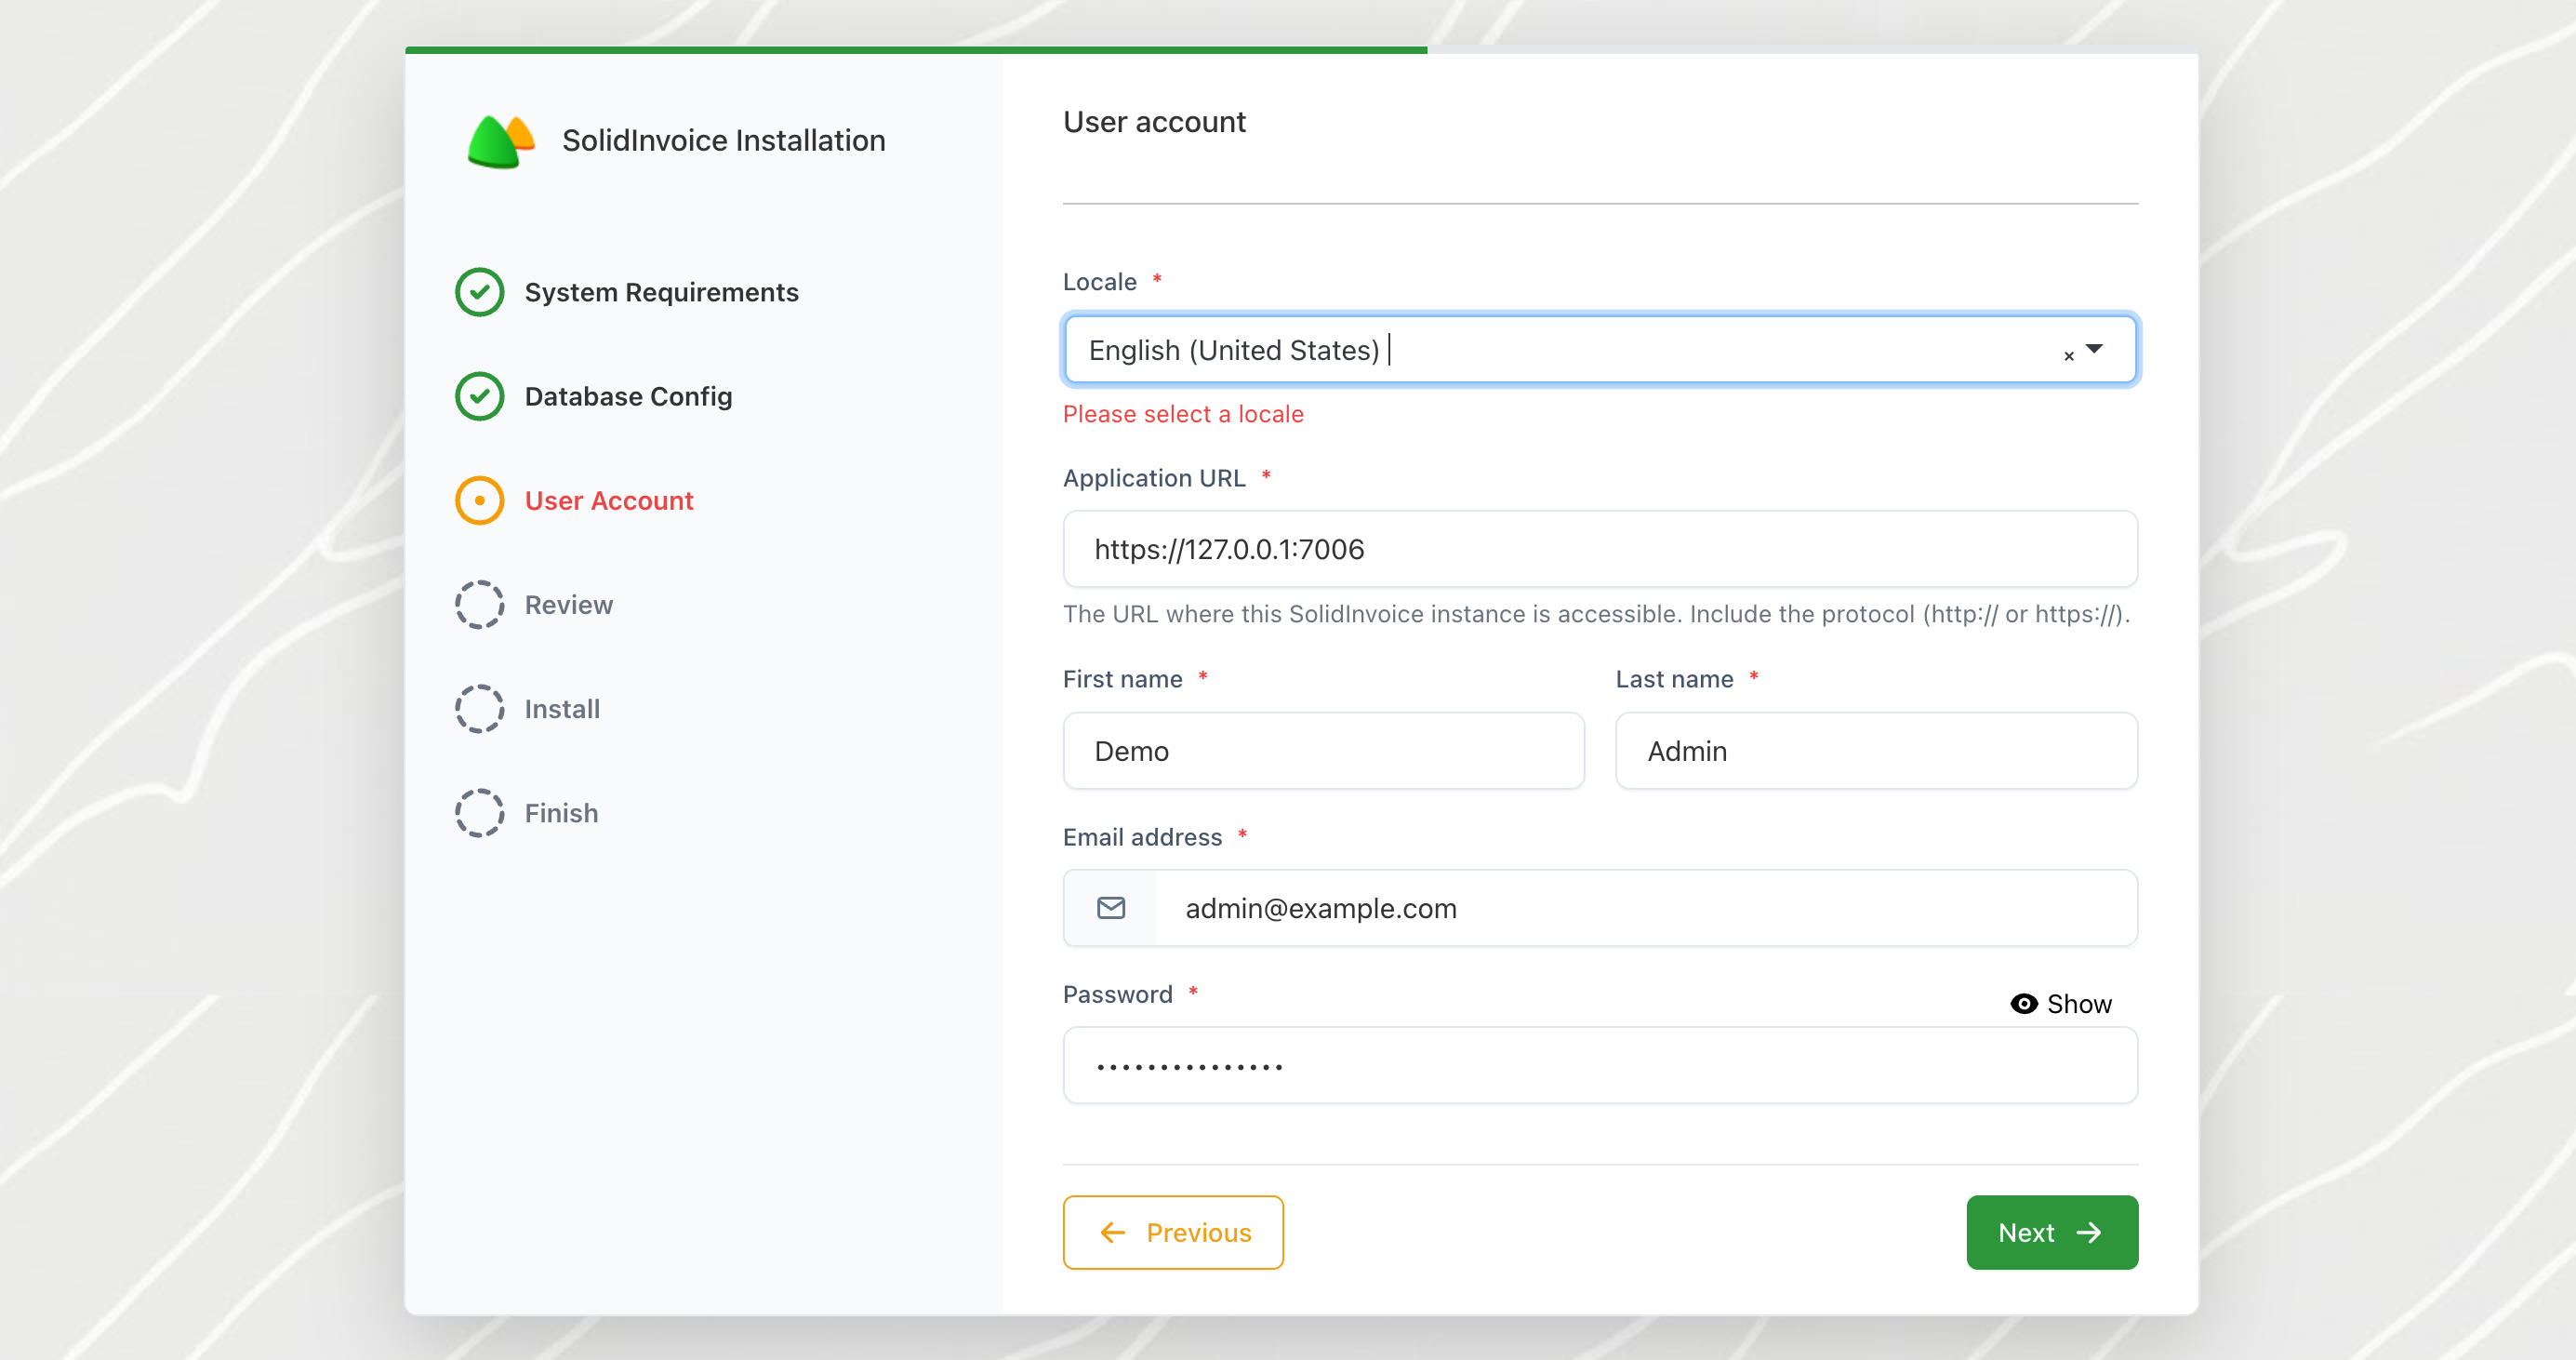
| Field | Notes |
|---|---|
Application URL | The public URL where this SolidInvoice instance is reachable. Defaults to the URL you're loading the wizard from; must include http:// or https://. |
Locale | Language plus number and currency formatting. The dropdown lists the full set of locales supported by your PHP intl extension. If intl isn't installed, the field is read-only and locked to English. |
First name / Last name | Used in the UI and on outgoing emails. |
Email address | Becomes the admin user's login. |
Password | Becomes the admin user's password. |
Click Next to continue.
Review
A summary of everything you've entered, so you can confirm before any changes are made.
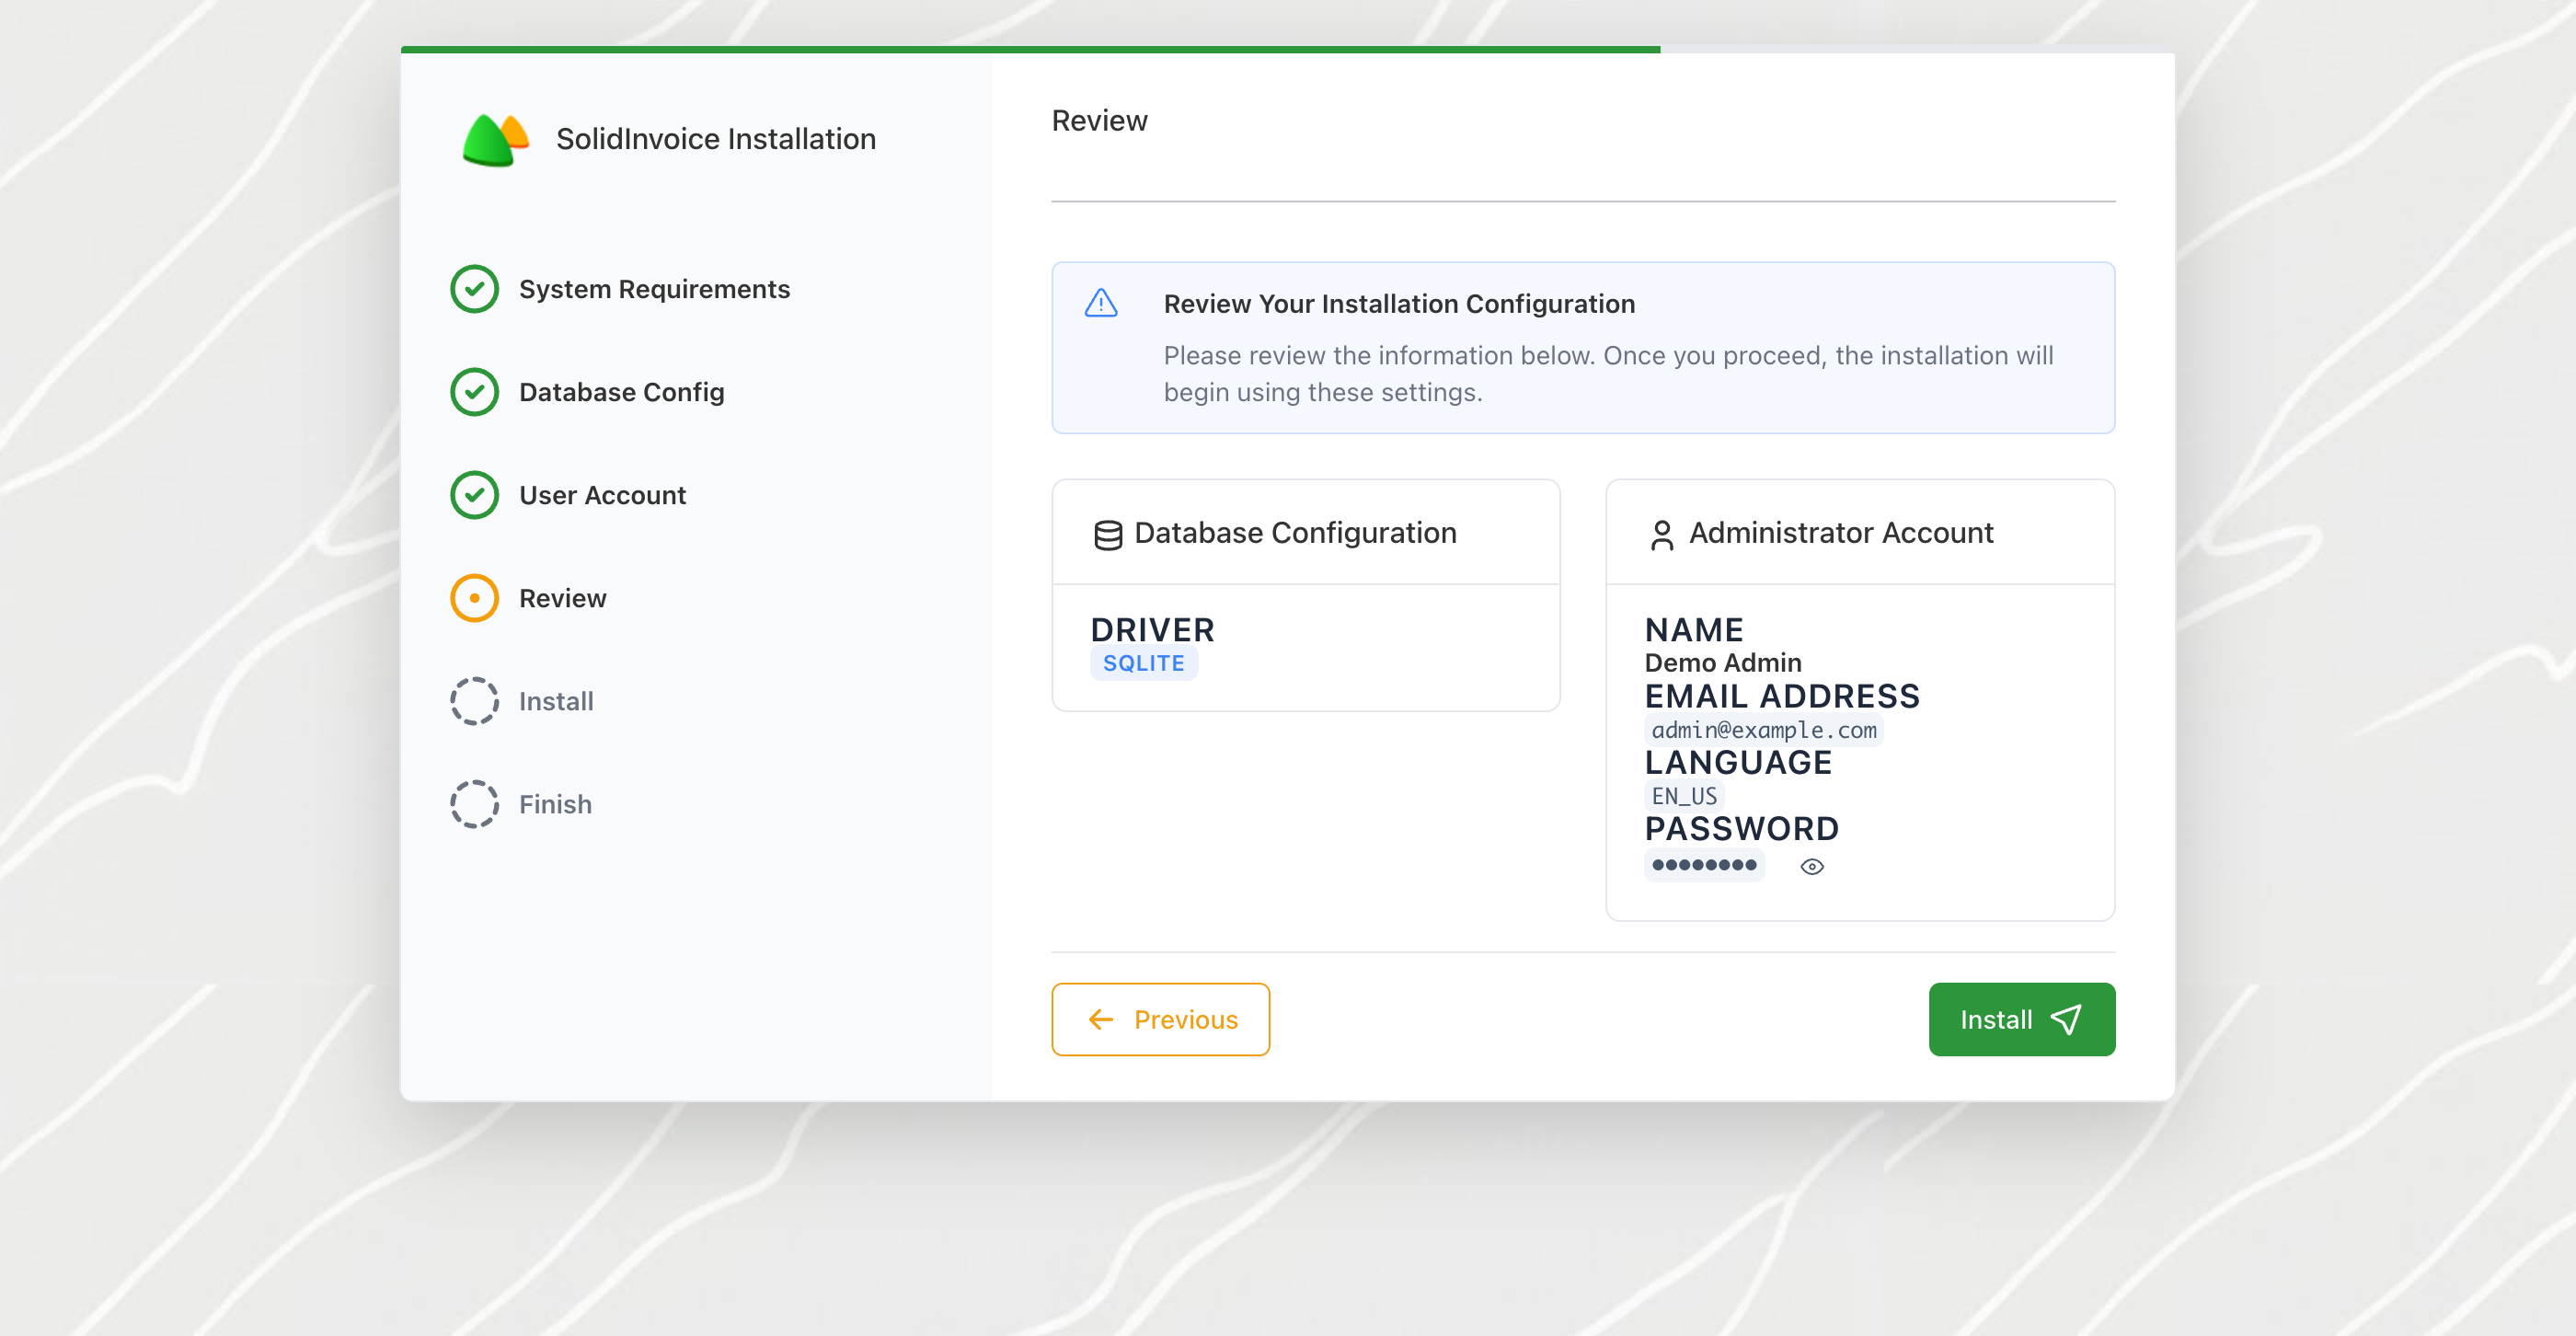
Click Previous to amend a setting, or Install to start the install.
Install
The wizard streams progress for five sub-steps over Server-Sent Events. Each card shows a status icon, a View logs button to expand the live output, and a Retry button if the step fails.
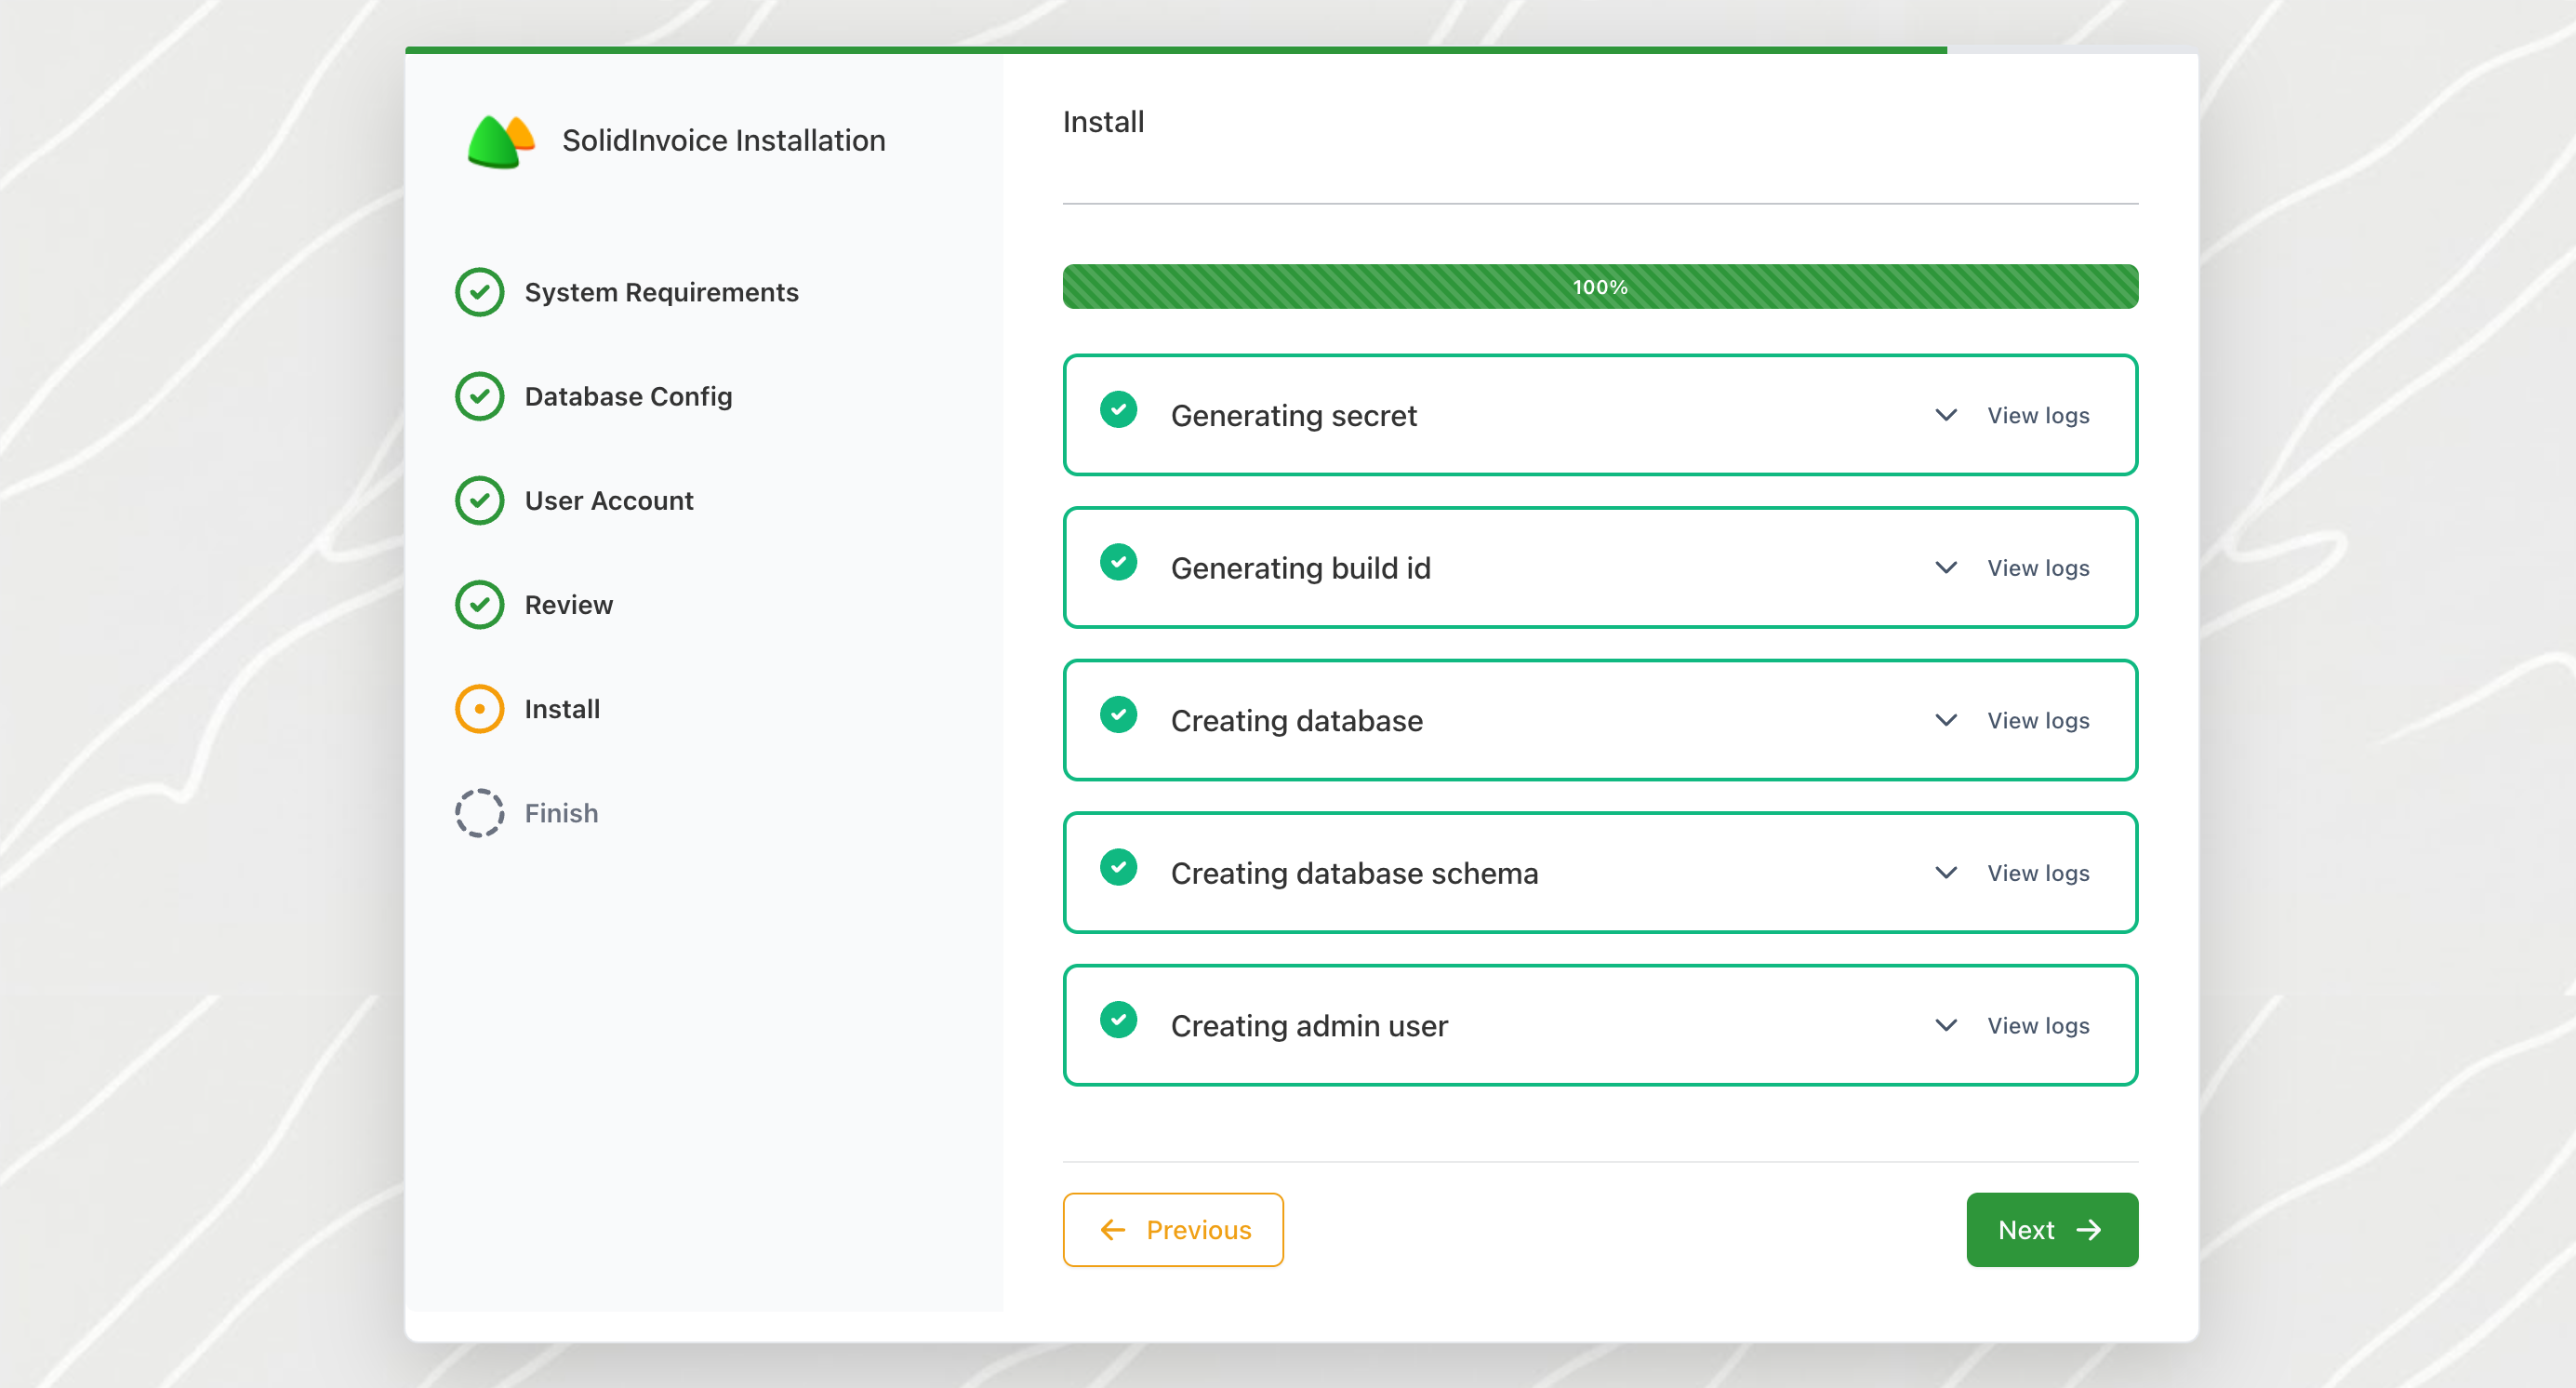
The sub-steps run in order:
- Generating secret — creates the application secret used for signing tokens and cookies.
- Generating build id — assigns a unique id to this installation (used for cache versioning).
- Creating database — creates the database if it doesn't already exist. For SQLite this just touches the database file.
- Creating database schema — runs the Doctrine migrations to build all tables.
- Creating admin user — saves the admin account you entered earlier.
If a step fails, expand its View logs panel to read the error, fix the underlying issue, and click Retry on that step. Most failures here are database-permission related — see Troubleshooting.
When all five sub-steps show a green check, the Next button at the bottom is re-enabled. Click it.
Finish
A confirmation screen with a quick summary of what was set up.
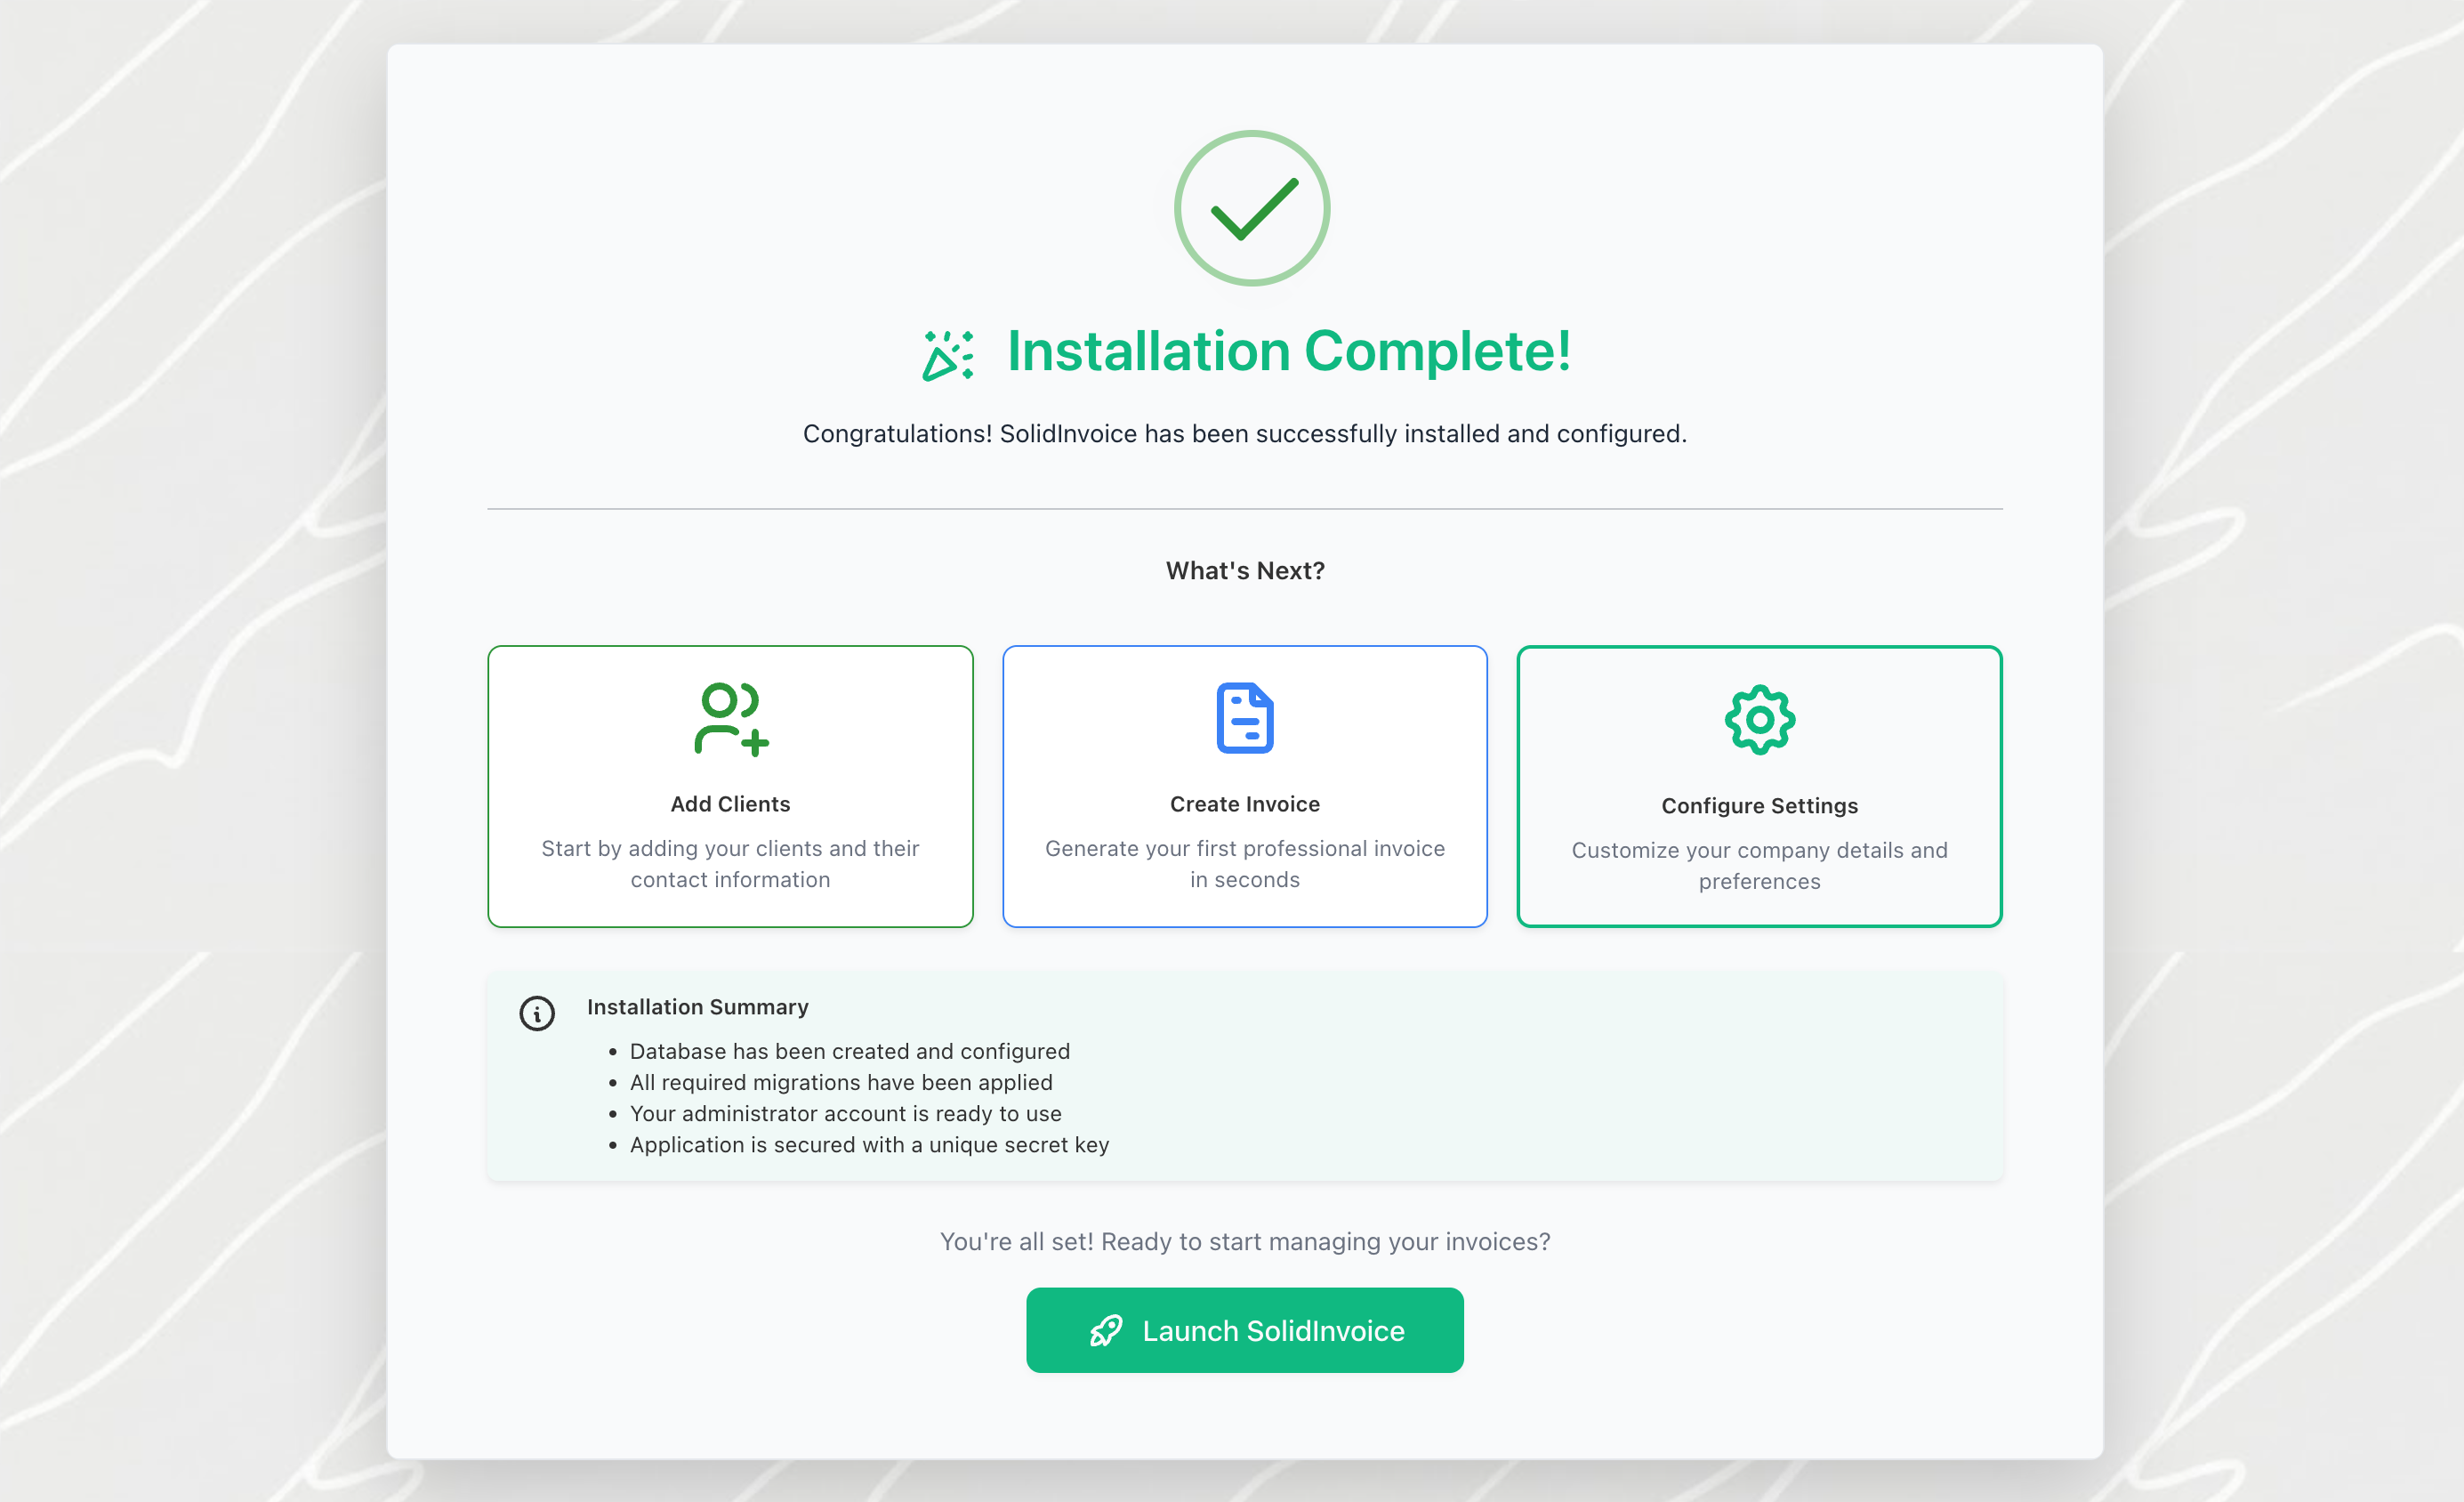
Click Launch SolidInvoice to go to the login page. Sign in with the admin email and password you set during the wizard.
If you installed via the distribution package or from Git, one more thing is left: starting the background worker that handles emails and recurring invoices. See the Cron job setup guide for systemd, cron, cPanel, Plesk, and Windows configurations.
If you used Quick install, Homebrew, or Docker, the worker is already running for you — nothing else to do.
Troubleshooting
/install returns 404 instead of showing the wizard
The application already considers itself installed. SolidInvoice writes an installed: timestamp to its config file (under the directory shown as Config Directory on the requirements screen). Only remove that line if you genuinely intend to reinstall — clearing it without also dropping the existing database will leave the next install in a broken half-state.
A required check is marked Failed
Fix the underlying issue (install the missing PHP extension, raise memory_limit, fix a directory permission, etc.) and reload the page to re-run the checks. The PHP Config File row in the System Information card shows you which php.ini to edit.
SQLSTATE… Access denied on the database step
The credentials are wrong, or the user lacks permission to create the target database. Either grant the user CREATE on the database, or pre-create it manually and connect with a user that has full rights on it.
Could not connect / connection timeout
The host and port are reachable from where you ran the wizard but not from the SolidInvoice host. Verify the database server is listening on the address you entered and that no firewall is in the way.
Creating database schema fails
The chosen user can connect but lacks DDL rights on the target database. Re-grant rights or switch to a user that owns the database.
The install screen stalls and never shows progress
The wizard streams progress over Server-Sent Events. If you're behind a reverse proxy, make sure it isn't buffering responses (for nginx, set proxy_buffering off; on the SolidInvoice location). Open the browser console — you'll see EventSource errors when the stream is being held back.